Thursday, December 24, 2015

Job 11: Repopulate the Playfield

Before clearcoating I had removed everything from the top of the playfield and taped it securely to the back. Now it's time to put everything back. This is meticulous and time-consuming work.  First, the standup targets and rollover switches went back into place, along with the flippers.


It was easier to put the flipper rubber on while they were detached.

Here's what the back of the playfield looks like now:


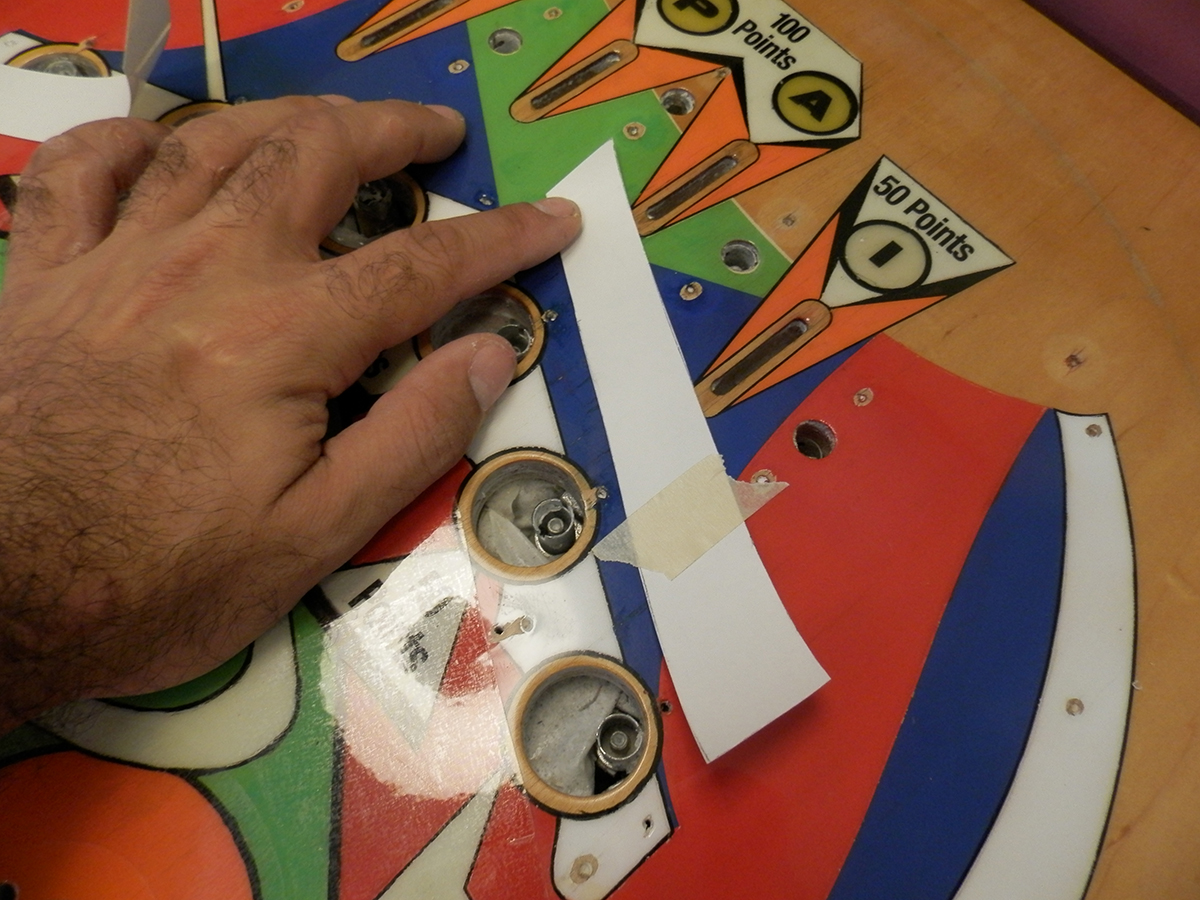
The pop bumpers are a tricky assembly. But first, I noticed that the right bumper's switch was broken. I had to replace it and re-solder the wires.


After that was done, I re-assembled the pops and soldered the light sockets into place.


Looking good!  Then, I went ahead and added the top arch and lower apron. Here's where we stand now:


Next, I added the light reflectors behind each of the standup targets as well as the wire ball guides and light bulbs.


Before going any further, I thought it would be a good idea to stand the machine up on its feet and attach the head...


... and see if it lights up.


Success! Well, mostly. That tens reel will need to be looked at and there are about six bulbs that aren't lighting.  And one that mysteriously is but shouldn't be.

Rubber rings went on next, along with some of the plastics. I discovered that I had mis-ordered rings and got the wrong sizes for some of the areas. That will set me back a few days, but I can use that time to troubleshoot.


Thursday, December 17, 2015

Job 10: Finishing the Playfield

It's now 5 weeks later and the clearcoat should be fully cured.  The next step is to finish the playfield. As I mentioned in the previous post, the last layer of clearcoat went on  with a rough, bumpy texture for some reason, so I started with a 320 grit sandpaper and sanding block to take out the bumps.  I was careful not to go too deep, though. The result was a much better, if hazy surface.


Next, I went over the playfield again with increasingly finer papers: 600, 1000, 1200, 1500, and 2000. For the last three I lightly sprayed the playfield  with water and sanded wet, which made the process faster and less messy.

Then, I got out the rotating buffer and gave the playfield three more passes with liquid polishes.  The result is a near-mirror finish!


Before I went any further, I needed to apply protective mylar to the playfield. I got pre-made circles for under the pop bumpers but also made custom shapes for key areas: between the pops and the row of six targets and between those six targets and the top rollovers. These were the mot-damaged areas on the playfield when I first started.

First, I cut out a shape in plain paper.


Once it looked right, I traced it onto the back of the mylar.


Then I secured it into place with tape and used the "hinge" method to adhere once side at a time to the playfield.


The top of the playfield is now protected in key areas.


Finally, it was time to give everything a coat of wax...


... and buff it to a high shine.


Thursday, December 10, 2015

Job 9: Clearcoating

At last, we come to the most stressful part of the restoration.  Clearcoating is expensive, toxic and time-consuming and can go wrong at every turn, which it did. I gathered my supplies, cleaned everything to the best of my ability and got started. First, I propped up the playfield and leveled it using an app on my iPad.


Then I suited up and sprayed the first, very light coat. A few hours later, once it was dry, I went back and touched up some of the black areas - the acidic clearcoat compound easily eats through the decals, so you have to barely mist it at first. 

The second coat went on a bit thicker, but my gun was clogged and I had to get a new one.

The third coat went on thick, but something else went wrong and the finish was marred by a few dozen pockmarks, caused by moisture or dust or something in either the compound or the air line.  I immediately filled the divots with an eyedropper and they turned out okay.

Finally, I had enough stuff left for a light topcoat and this one yielded thousands of pockmarks - an evenly pebbled surface. I hereby concede that I am terrible at clearcoating and will avoid it in the future at all costs.  I can sand the pebbling down when I reach the polishing phase, so it's not a big deal.

For now, though, the results are too embarrassing to post in photos and the clearcoat requires several weeks to cure before I can sand or polish.


Thursday, December 3, 2015

Job 8: Decals

The painting is done, but there are some parts of the playfield art that take a different approach. Namely, the black circles around the inserts and the six scoring labels that I repainted.  That's where we use waterslide decals - the same kind that come with model car and airplane kits.

First, I created a graphic with the text and shapes that I need and printed it on special decal paper in four colors (even though it's all black) on a laser jet printer.  Then, I cut out the shapes, soaked them one at a time in water, placed them on the playfield and slid the backing paper out gently.  Here's the work in progress:


The L and P have decals and the A and I do not.  Two down, 22 to go.  Here's that same part of the playfield an hour later:


Just for comparison, here's the whole playfield before decals...


... and after:


A vast improvement, I'd say.

Thursday, November 26, 2015

Job 7: Painting the Playfield


Here's another job best done in phases. Step one of repairing the playfield paint is touching up the smaller dings and scratches with a brush. It's already much improved.


There are some larger areas, however, where a brush leaves ugly streaks and a different approach is required. Time to upgrade to airbrushing.  The first areas I'll tackle are the solid white blocks that will lie under the playfield plastics. I'm starting here because there's no paint matching required, they cover a lot of area, they've yellowed with age and because brightening the playfield under the plastics will reflect more light and create a brighter game.

I started by applying clear adhesive frisket, carefully cutting out the shapes and masking the rest of the playfield with scrap paper.


Then, I sprayed it with white paint.


I removed the masking paper...


 ... and the frisket...


... and did a little cleanup around the edges. You can already see a huge improvement.  Next, I'll repeat the process with some of the more damaged off-white target labels and part of the swoosh that runs through the upper left.


You may be asking why I went to the trouble of mixing an off-white khaki color, rather than re-paint all the labels stark white.  A few reasons: There are a whole lot of those labels and not only would I have to paint them, but I'd have to decal the text back into place, which is a lot of work - only six were damaged enough to need re-painting. I like the contrast and appreciate that it shows the machine's age and history in a subtle way. Also, the white inserts and posts have aged into a light beige and they'd really stick out against stark white labels. Since I have no need, desire or interest in replacing all 48 posts and 12 white inserts and making sure the decals are on perfectly straight, I've decided to keep the off-white theme going and paint the labels accordingly.

I had one last round of airbrush painting: the reds at the top of the playfield were a big part of the damaged area. You'd think red would be an easy color to match, but it turns out Gottlieb's color was more like a deep orange. It took a lot of trial and error to get it right.


Finally, I was ready for a few touch-ups. Mostly re-defining the black outlines with a liner brush.


Thursday, November 19, 2015

Job 6: Disassemble the Playfield

Here's what we're dealing with:


It's not a complicated playfield and it doesn't have any craziness like a roto target or spinners, but there are just a lot of switches to unscrew.  Experience has taught me to think of this job in phases. Phase one: remove the plastics, posts, bulbs, rings and other surface items.


Here's what that looks like. Notice how dirty it is under the apron and how clean it is under the posts - especially noticeable around the center targets.  Check out the engineering behind that center element.


Here's a shot of everything I removed in this first phase, which I'll clean later. Except for the 2" screws, which will be ditched in favor of Phillips-head replacements.


That's way more posts than I would have estimated and fewer rubber rings.  Those amber tubes on the left go over the bulbs to shield the plastics and surrounding areas from heat. They won't be necessary when I install LED's.

Next, it was time to disassemble the rest, which includes unscrewing the standup and rollover targets (and taping them, along with their screws, to the back of the playfield), removing the flipper bats and pop bumpers and taking off the side rails.


Turning it upside down made it easier to get at some of the screws. All that's left is to remove the wire ball guides and I have a nice flat surface to start from!

Thursday, November 12, 2015

Job 5: Re-assemble the cabinet

With the cabinet re-painted and the internal mechs adjusted, it was time to re-attach the hardware. While everything was disassembled and I was waiting for the paint to dry, I got new springs and a new bushing for the shooter rod, shined up the coin door and strike plate and installed a new red start button, new coin slots and pricing labels.


Then, I just needed to install the cabinet mechs and re-attach the tilt switch, power button, knocker and chimes.


Done! With the cabinet completed, about a third of the hard work is done. Now comes the hard part - restoring the playfield.