

Next, I went over the playfield again with increasingly finer papers: 600, 1000, 1200, 1500, and 2000. For the last three I lightly sprayed the playfield with water and sanded wet, which made the process faster and less messy.
Then, I got out the rotating buffer and gave the playfield three more passes with liquid polishes. The result is a near-mirror finish!

Before I went any further, I needed to apply protective mylar to the playfield. I got pre-made circles for under the pop bumpers but also made custom shapes for key areas: between the pops and the row of six targets and between those six targets and the top rollovers. These were the mot-damaged areas on the playfield when I first started.
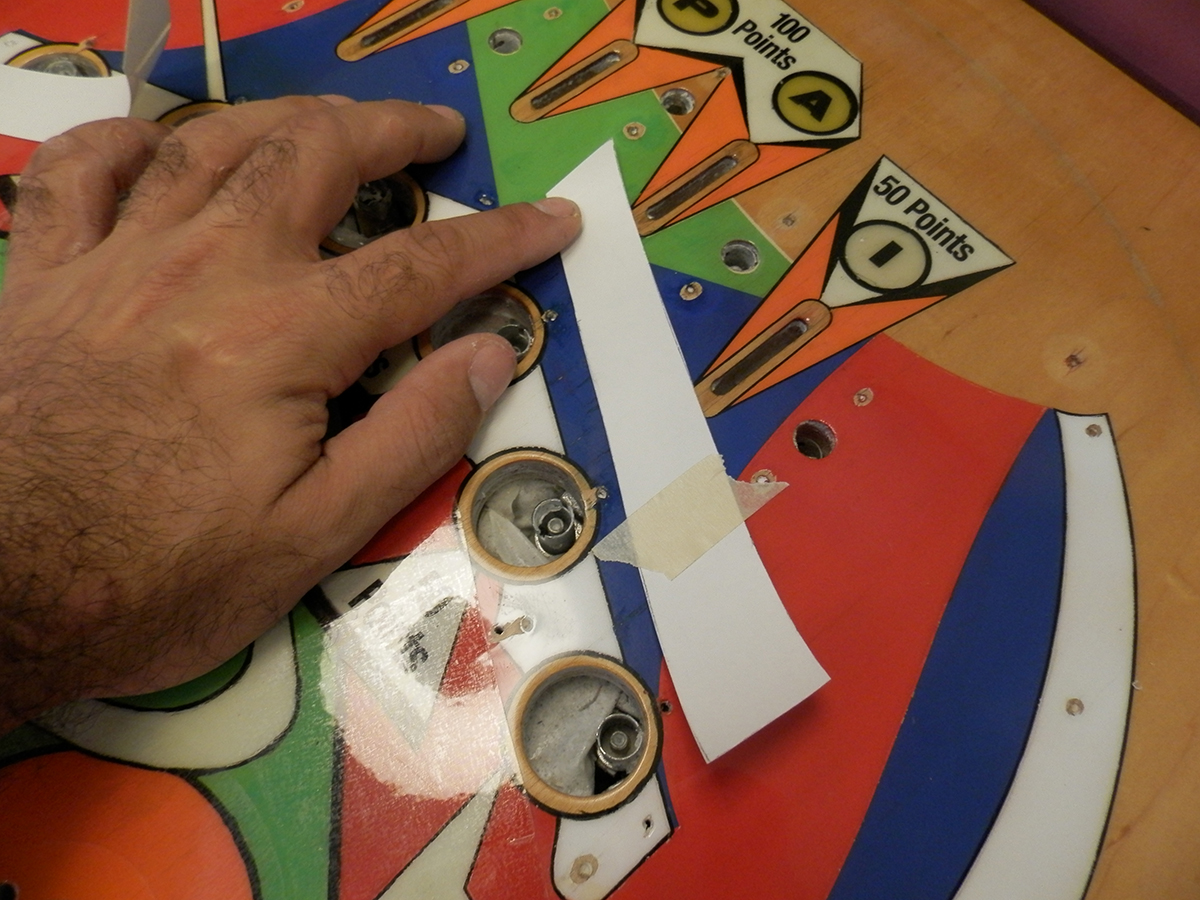
First, I cut out a shape in plain paper.

Once it looked right, I traced it onto the back of the mylar.

Then I secured it into place with tape and used the "hinge" method to adhere once side at a time to the playfield.
The top of the playfield is now protected in key areas.


... and buff it to a high shine.

No comments:
Post a Comment