
Showing posts with label Jet Spin. Show all posts
Showing posts with label Jet Spin. Show all posts
Tuesday, July 7, 2015
Jet Spin Project Complete!
Jet Spin is done! After assembling everything, I just needed to adjust and fine-tune the switches and the game is working perfectly. The pitch has been increased to 4.5 degrees (the manual suggests 3.5 degrees) so it plays super-fast. Enjoy this video I made illustrating the scoring, strategy and ending with a sample game:

Saturday, June 6, 2015
Job 11: Re-Assebly
The clear coat is done, the surface is polished, protected and waxed, and it's time to put this machine back together! I started by re-attaching the small things: rollover switches, standups, vari-target and ball return guides.

Next, I installed the flippers and placed bulbs in the sockets.

Now for the large components: re-assembling the pop bumpers and the rotating target.

This required some soldering, so after installing the pops, I held my breath and hit the on button...

Success! Everything lights as it should! I could go ahead and put the upper arch and lower apron on and re-install the wire ball guides.

Finally, it was time to screw in the posts, fit all the rubber parts, and get the plastics in place. It looks gorgeous! I used orange silicone parts from TitanPinball.com - as bouncy as white rubber but more durable and better looking. The orange really pops against the blue background.


Next, I installed the flippers and placed bulbs in the sockets.

Now for the large components: re-assembling the pop bumpers and the rotating target.

This required some soldering, so after installing the pops, I held my breath and hit the on button...

Success! Everything lights as it should! I could go ahead and put the upper arch and lower apron on and re-install the wire ball guides.

Finally, it was time to screw in the posts, fit all the rubber parts, and get the plastics in place. It looks gorgeous! I used orange silicone parts from TitanPinball.com - as bouncy as white rubber but more durable and better looking. The orange really pops against the blue background.

Saturday, May 30, 2015
Job 10: Finishing the Clearcoat
Three weeks have passed and the clear coat is adequately cured! I gave the entire surface a polish with medium-cut cleaner and then Novus 2 to bring it to a nice shine. Not a high-gloss mirror shine, but an "EM" shine, appropriate for a 1977 game.
Next, for further protection of the sensitive areas, I applied some clear adhesive mylar. One in front of each slingshot...
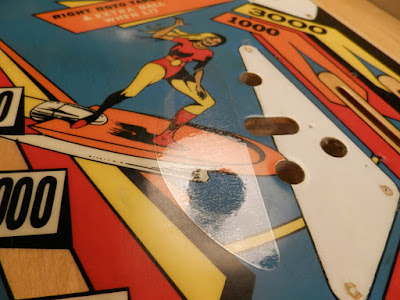
...one in front of the roto target, and some circles under the pop bumpers.

Based on my repair work, it's evident that the spot between the kickout hole and the lower pop bumper gets a lot of action, so I decided to make a custom mylar for that area. First, I cut a shape out of paper and refined the shape by trimming it as needed.

Then, I traced it in reverse onto the backing of a mylar sheet...


I removed the backing and placed it carefully and voila! Protected!

Next, I gave the entire surface three coats of carnuba wax...

Next, for further protection of the sensitive areas, I applied some clear adhesive mylar. One in front of each slingshot...

...one in front of the roto target, and some circles under the pop bumpers.

Based on my repair work, it's evident that the spot between the kickout hole and the lower pop bumper gets a lot of action, so I decided to make a custom mylar for that area. First, I cut a shape out of paper and refined the shape by trimming it as needed.

Then, I traced it in reverse onto the backing of a mylar sheet...

... and cut it out.


Next, I gave the entire surface three coats of carnuba wax...

...and buffed it to a nice shine!
Saturday, May 16, 2015
Job 9: Clearcoating
Many of the steps in this restoration have been nerve-wracking, but clearcoating the playfield has worried me the most - and with good reason. It's an involved, irreversible, expensive and toxic process and I wanted to get it right. I spent weeks gathering all the supplies I needed and ended up going to a dozen specialty stores in the process. Finally, the day arrived - I cleared my schedule on a Saturday when it wasn't too cool and the humidity was low.
I started by cleaning out my garage, sweeping the floor and corners, walls and even the ceiling to reduce the possibility of dust and dirt falling into the wet clearcoat. Then, I spread a drop cloth and positioned my playfield on some paint cans, carefully leveling it with cardboard shims. The clearcoat will pool and run downhill, so it's important to have the playfield perfectly level.


Once it was in position, I wiped the surface with a tack rag to remove loose dust and cleaned with naphtha to remove any moisture or oils. Then it was time to suit up.

Gloves, Tyvek suit, respirator and goggles are a must - the chemicals are very toxic. Now I was ready to clean out the spray gun, mix the two-part clearcoat, fire up the air compressor and give my playfield its first coat.
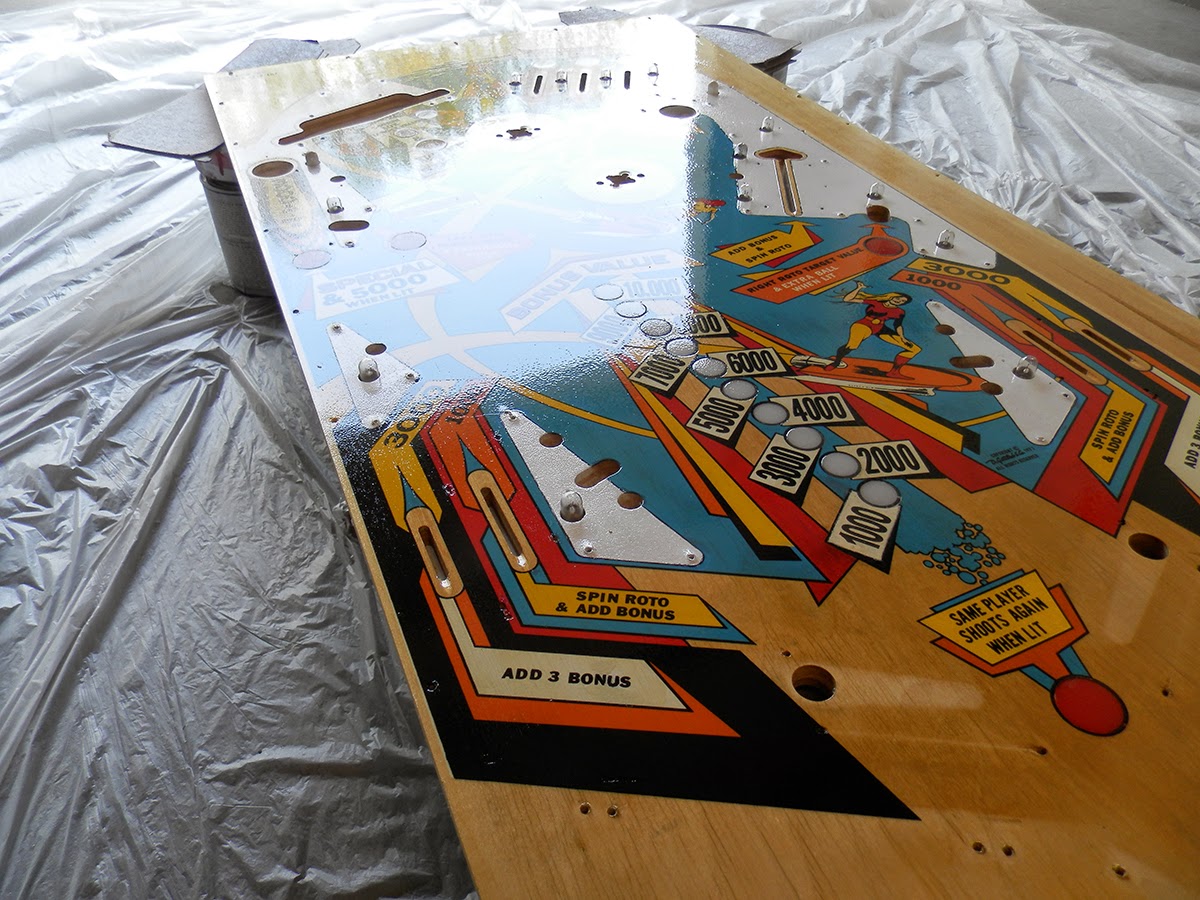

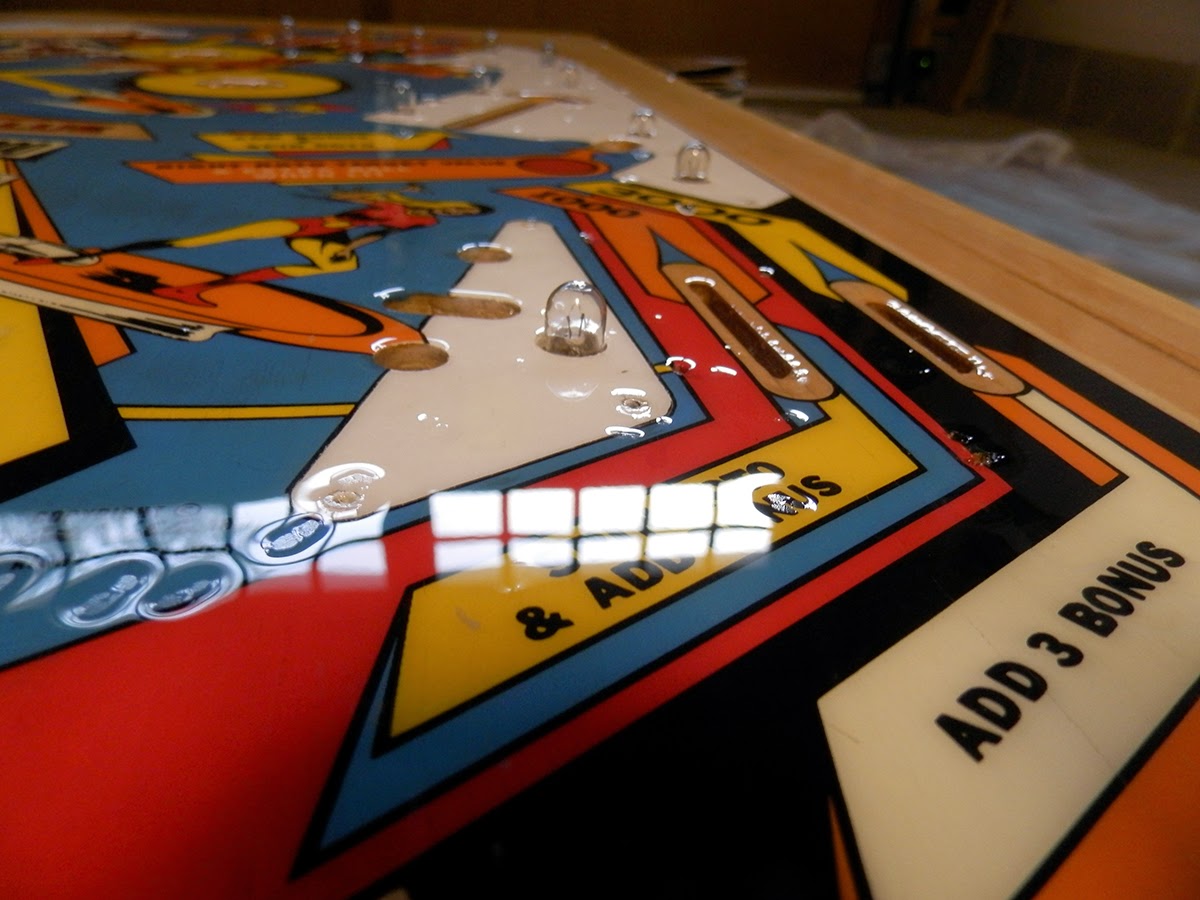


The next step is to let the clearcoat cure. I brought it back inside and am storing it in its cabinet where it will be safe and at a relatively consistent temperature. In about three weeks, I'll buff it and polish back the shine.
I'm over the hump! The end is in sight! Every step from here on out involves putting the machine back together, so I'm excited to finally get to play this machine again later this summer.
I started by cleaning out my garage, sweeping the floor and corners, walls and even the ceiling to reduce the possibility of dust and dirt falling into the wet clearcoat. Then, I spread a drop cloth and positioned my playfield on some paint cans, carefully leveling it with cardboard shims. The clearcoat will pool and run downhill, so it's important to have the playfield perfectly level.
Once it was in position, I wiped the surface with a tack rag to remove loose dust and cleaned with naphtha to remove any moisture or oils. Then it was time to suit up.
Gloves, Tyvek suit, respirator and goggles are a must - the chemicals are very toxic. Now I was ready to clean out the spray gun, mix the two-part clearcoat, fire up the air compressor and give my playfield its first coat.
Gorgeous! I gave it a very light coat at first, because I was worried about how the decals I used would react to the chemicals and, unfortunately, there were some very small pieces that disintegrated. Nothing I couldn't live with, though. After this, I carefully cleaned out my measuring cups and gun with lacquer thinner.
I let this set up for a few hours, lightly sanded to give the next coat some "tooth," cleaned with a tack cloth and naptha, and went through the whole process again for the second and third coats. Dry time was about four hours between coats, and that was using the "fast" activator.
It was looking really good and I decided that since I was set up and had enough chemicals left and that first coat was rather thin, I'd put on an extra-protective fourth coat. My hubris was rewarded with this:
Fisheyes! This is what happens when moisture gets into the spray gun. Looking back, I should have changed out my air filter after the second or third coat. My beautiful glossy playfield was now full of these horrible divots. So the next morning, I mixed up a small batch of clear and used an eyedropper to fill each pock mark and then let it set. Then, I took some sandpaper and leveled each one out. Finally, I gave the whole playfield a sanding with 400, 800, 1200, 1500 grit and ending with 2000 grit sandpaper. Here's what those fisheyes look like now:
I'm over the hump! The end is in sight! Every step from here on out involves putting the machine back together, so I'm excited to finally get to play this machine again later this summer.
Saturday, May 9, 2015
Job 8: Decals
Painting was done, but some of the finer details required the application of decals.

First, I created a page of decals - mostly the black circles that go around the new inserts - and printed it on special waterslide decal paper. It's the same thing you get in a model plane kit - just cut out the decal you want, soak it in water for a minute, place it where you want it, and gently slide the backing paper away, leaving the thin, clear printed film in place. Then I brushed some setting solution over top of it to smooth it out and help with adhesion.
I started with the bonus inserts in the middle of the playfield. Here, you can see that I've decalled the top four.


These are the two Special Scoring inserts on the left.

The decals by the roto target needed to include custom type.

The 1000 bonus tag was tricky and it took a few attempts to get it placed correctly.


Voila! Looking great!

First, I created a page of decals - mostly the black circles that go around the new inserts - and printed it on special waterslide decal paper. It's the same thing you get in a model plane kit - just cut out the decal you want, soak it in water for a minute, place it where you want it, and gently slide the backing paper away, leaving the thin, clear printed film in place. Then I brushed some setting solution over top of it to smooth it out and help with adhesion.
I started with the bonus inserts in the middle of the playfield. Here, you can see that I've decalled the top four.
Here are the top rollovers mid-process, with the right one done and the other two ready to go. It's a dramatic difference.
These are the two Special Scoring inserts on the left.
The decals by the roto target needed to include custom type.
The 1000 bonus tag was tricky and it took a few attempts to get it placed correctly.
Voila! Looking great!
Saturday, May 2, 2015
Job 7: Painting
This is where the project gets complicated, messy and expensive.

I decided to start the painting process by going over the white areas under the plastics. There are several reasons for this choice:
Painting a pinball playfield requires smooth, even application of paint and the best method for that is to use an airbrush. I started by applying frisket over the white areas - it's a thin clear adhesive film that acts as a mask for the paint. I then used an X-acto knife to cut the frisket around the white border. Then, I taped scrap paper to the playfield, as seen above, to prevent any accidental sprays. Against the white paper, you can see how the original white paint has discolored to a shade of ivory.


It took a little effort, but I got the airbrush working. I placed the GI bulbs back so paint wouldn't get into the sockets.


...and peeled up the frisket...

...and was underwhelmed by the results. Luckily, the paint that I used is heat-set, meaning that even though it's dry, it's not permanent until I hit it with a heat gun or hair dryer. I was able to clean up the edges and re-paint the outlines with a liner brush. It's not perfect, but it's not better and it will do.
I also used frisket to touch up one other spot - the 1000-point bonus tag.


That blue is hard to match because it wore differently in different areas of the playfield. It's slightly lighter in some places and darker in others.
Again, it's not collector's quality perfect, but it's better than when I started. Here's a final look:

I decided to start the painting process by going over the white areas under the plastics. There are several reasons for this choice:
- I could use straight white paint - no mixing or color matching involved
- Whitening the areas under the plastics will create greater reflection of the general illumination, resulting in a brighter overall playfield
- These five areas comprise the largest area of solid color and they're bordered by black lines, making it a little easier for my first attempt at painting
- If I mess up, they'll be covered by other stuff later on
Painting a pinball playfield requires smooth, even application of paint and the best method for that is to use an airbrush. I started by applying frisket over the white areas - it's a thin clear adhesive film that acts as a mask for the paint. I then used an X-acto knife to cut the frisket around the white border. Then, I taped scrap paper to the playfield, as seen above, to prevent any accidental sprays. Against the white paper, you can see how the original white paint has discolored to a shade of ivory.
It took a little effort, but I got the airbrush working. I placed the GI bulbs back so paint wouldn't get into the sockets.
Then, I removed the masking paper...
I also used frisket to touch up one other spot - the 1000-point bonus tag.
You'll notice that mixed a taupe color, rather than white, so it matches the other tags. So much easier than re-painting all of them.
I also touched up a bunch of other little areas, including the worn spot between the lower pop bumper and the kickout hole.
Again, it's not collector's quality perfect, but it's better than when I started. Here's a final look:
Saturday, April 25, 2015
Job 6: Clearing the Playfield
In preparation for the next steps in this restoration, I'd need to clear the playfield, removing everything until I'm left with a flat surface. Here's where we stand:

It was mostly a matter of going under the playfield and unscrewing the mechanical pieces from the bottom. I then secured them, along with their corresponding screws, to the underside with tape or zip ties. Then I covered the holes with more tape.


Finally, I needed to remove the wire ball guides and nails. A gentle pull with a pair of pliers and they came right out. I made sure to number and label each one so I can put them back correctly later.


Flat and ready for painting!
It was mostly a matter of going under the playfield and unscrewing the mechanical pieces from the bottom. I then secured them, along with their corresponding screws, to the underside with tape or zip ties. Then I covered the holes with more tape.
The pop bumpers required some special care. Here's what they look like from below:
I removed the coil and still had to unsolder these two wires, which connect to the light socket, in order to remove the top mechanism.
Here's what the playfield looks like sans targets and rollovers:
Finally, I needed to remove the wire ball guides and nails. A gentle pull with a pair of pliers and they came right out. I made sure to number and label each one so I can put them back correctly later.
Here's what the playfield looks like totally stripped:
Flat and ready for painting!
Saturday, April 18, 2015
Job 5: Replacing Inserts

Every one of the 21 inserts on this machine are concave and/or discolored thanks to the heat of the bulbs over time and it really affected the path of the ball. In fact, a light plunge to the top would sometimes get stuck on one of the top inserts.
. The first job was to remove the old plastic discs. First, I traced the edges with an X-acto knife and then, with the heat of a hairdryer to weaken the glue and a little pressure from behind, I popped each one out.
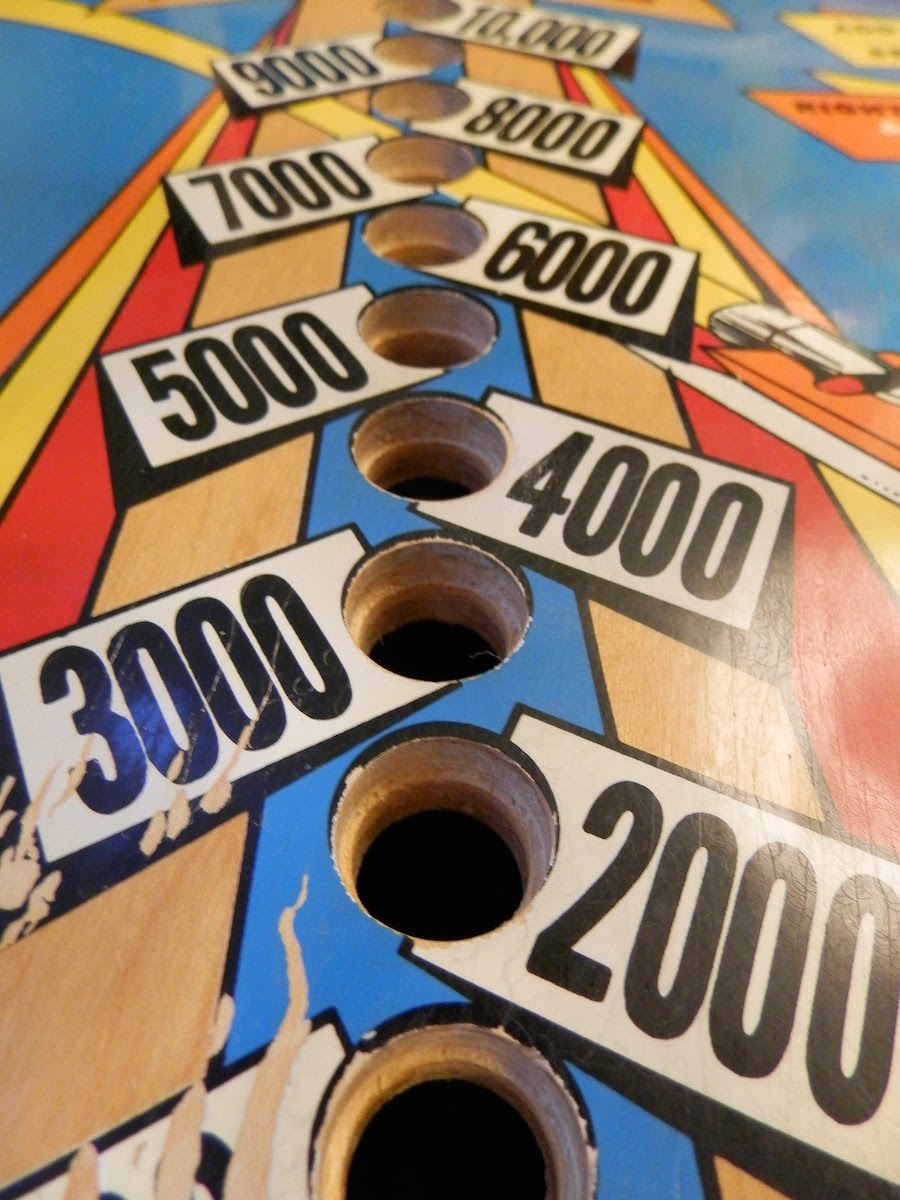
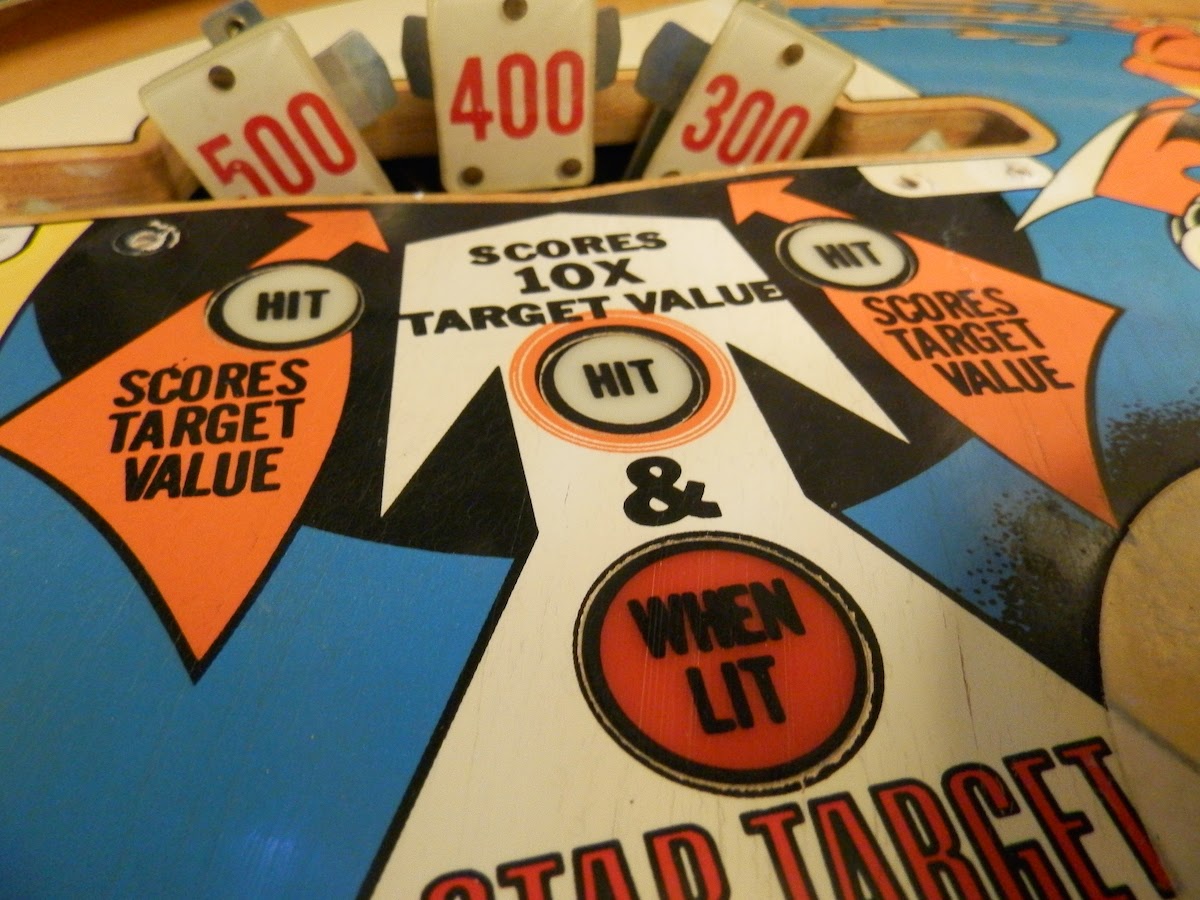


Here are some of the old inserts. You can see that three of the red ones are a lot more faded than the fourth.

The new inserts needed to be worked over with various grades of sandpaper and the edges needed to be roughed up to better accept the new glue.

A coat of plastic primer on the edge of each new insert and strong epoxy inside the holes and each one found its new place.


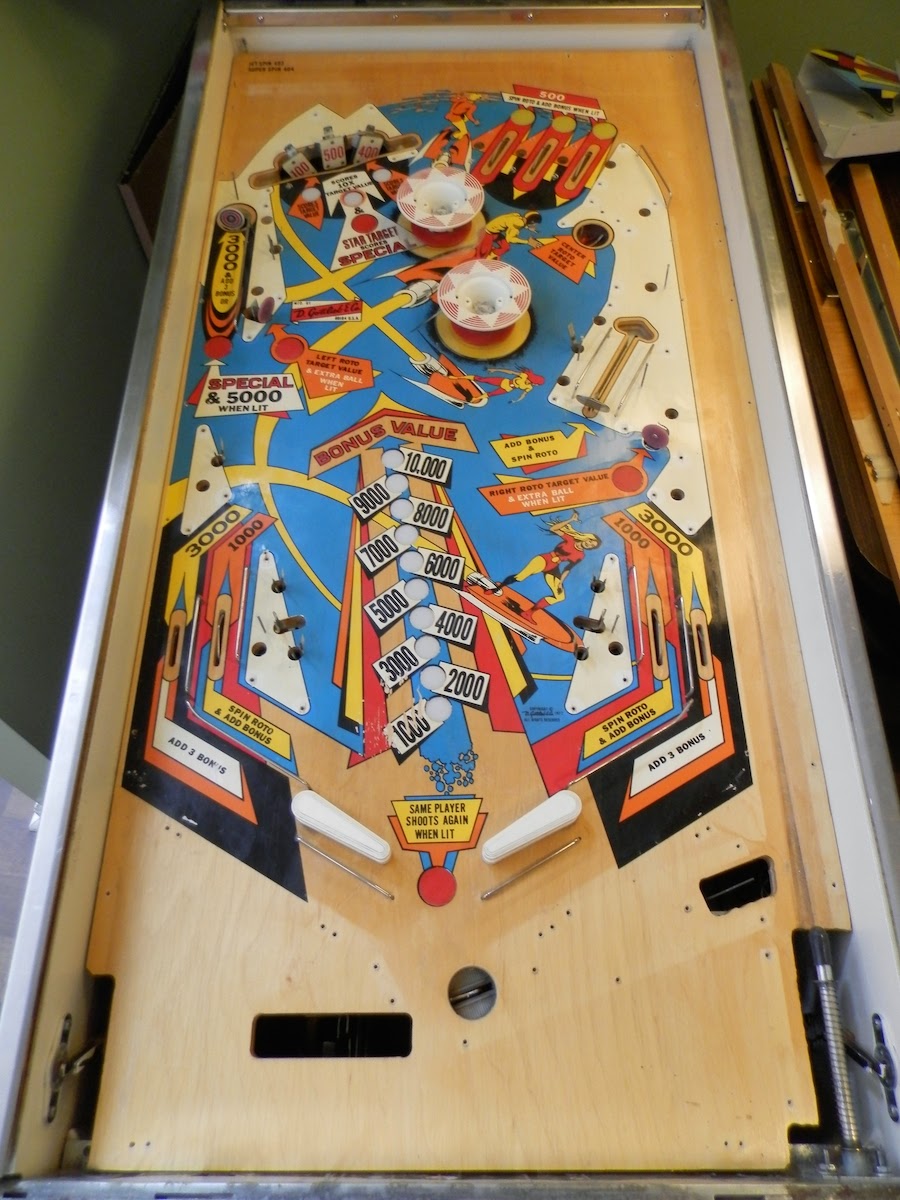
Beautiful! Here's a look at the whole playfield with all-new inserts:
Subscribe to:
Posts (Atom)