Showing posts with label clearcoat. Show all posts

Thursday, December 17, 2015

Job 10: Finishing the Playfield

It's now 5 weeks later and the clearcoat should be fully cured.  The next step is to finish the playfield. As I mentioned in the previous post, the last layer of clearcoat went on  with a rough, bumpy texture for some reason, so I started with a 320 grit sandpaper and sanding block to take out the bumps.  I was careful not to go too deep, though. The result was a much better, if hazy surface.


Next, I went over the playfield again with increasingly finer papers: 600, 1000, 1200, 1500, and 2000. For the last three I lightly sprayed the playfield  with water and sanded wet, which made the process faster and less messy.

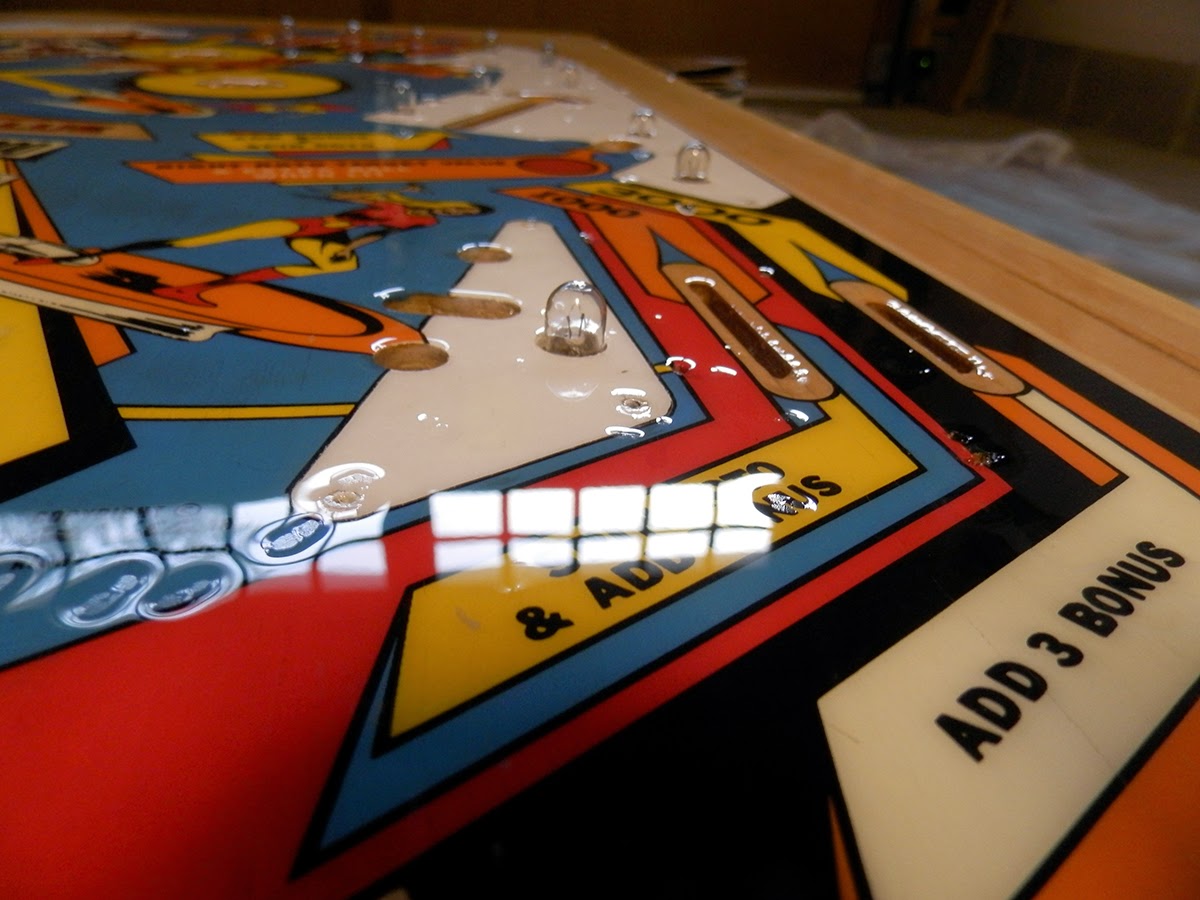
Then, I got out the rotating buffer and gave the playfield three more passes with liquid polishes.  The result is a near-mirror finish!


Before I went any further, I needed to apply protective mylar to the playfield. I got pre-made circles for under the pop bumpers but also made custom shapes for key areas: between the pops and the row of six targets and between those six targets and the top rollovers. These were the mot-damaged areas on the playfield when I first started.

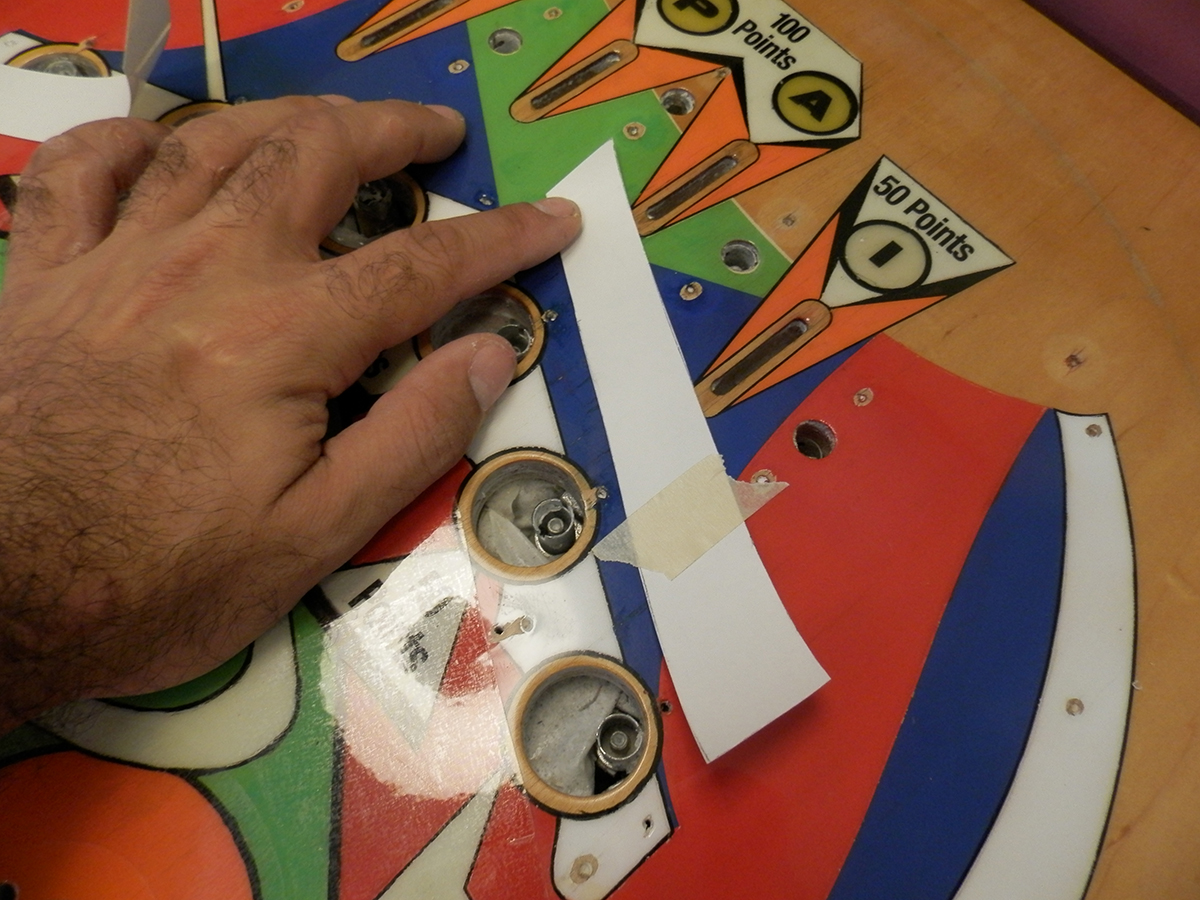
First, I cut out a shape in plain paper.


Once it looked right, I traced it onto the back of the mylar.


Then I secured it into place with tape and used the "hinge" method to adhere once side at a time to the playfield.


The top of the playfield is now protected in key areas.


Finally, it was time to give everything a coat of wax...


... and buff it to a high shine.


Thursday, December 10, 2015

Job 9: Clearcoating

At last, we come to the most stressful part of the restoration.  Clearcoating is expensive, toxic and time-consuming and can go wrong at every turn, which it did. I gathered my supplies, cleaned everything to the best of my ability and got started. First, I propped up the playfield and leveled it using an app on my iPad.


Then I suited up and sprayed the first, very light coat. A few hours later, once it was dry, I went back and touched up some of the black areas - the acidic clearcoat compound easily eats through the decals, so you have to barely mist it at first. 

The second coat went on a bit thicker, but my gun was clogged and I had to get a new one.

The third coat went on thick, but something else went wrong and the finish was marred by a few dozen pockmarks, caused by moisture or dust or something in either the compound or the air line.  I immediately filled the divots with an eyedropper and they turned out okay.

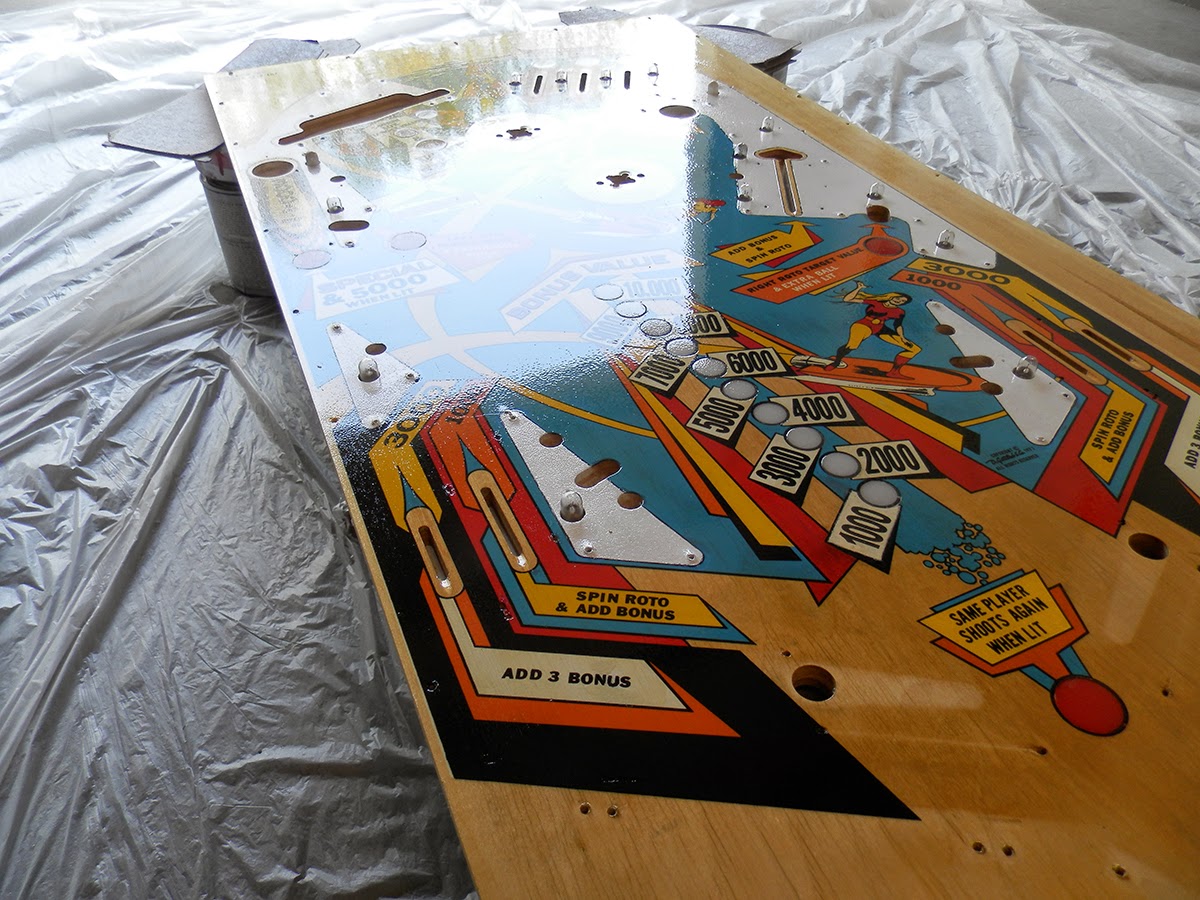
Finally, I had enough stuff left for a light topcoat and this one yielded thousands of pockmarks - an evenly pebbled surface. I hereby concede that I am terrible at clearcoating and will avoid it in the future at all costs.  I can sand the pebbling down when I reach the polishing phase, so it's not a big deal.

For now, though, the results are too embarrassing to post in photos and the clearcoat requires several weeks to cure before I can sand or polish.


Thursday, December 3, 2015

Job 8: Decals

The painting is done, but there are some parts of the playfield art that take a different approach. Namely, the black circles around the inserts and the six scoring labels that I repainted.  That's where we use waterslide decals - the same kind that come with model car and airplane kits.

First, I created a graphic with the text and shapes that I need and printed it on special decal paper in four colors (even though it's all black) on a laser jet printer.  Then, I cut out the shapes, soaked them one at a time in water, placed them on the playfield and slid the backing paper out gently.  Here's the work in progress:


The L and P have decals and the A and I do not.  Two down, 22 to go.  Here's that same part of the playfield an hour later:


Just for comparison, here's the whole playfield before decals...


... and after:


A vast improvement, I'd say.

Tuesday, July 7, 2015

Jet Spin Project Complete!

Jet Spin is done! After assembling everything, I just needed to adjust and fine-tune the switches and the game is working perfectly. The pitch has been increased to 4.5 degrees (the manual suggests 3.5 degrees) so it plays super-fast.  Enjoy this video I made illustrating the scoring, strategy and ending with a sample game:


Saturday, May 30, 2015

Job 10: Finishing the Clearcoat

Three weeks have passed and the clear coat is adequately cured! I gave the entire surface a polish with medium-cut cleaner and then Novus 2 to bring it to a nice shine. Not a high-gloss mirror shine, but an "EM" shine, appropriate for a 1977 game.

Next, for further protection of the sensitive areas, I applied some clear adhesive mylar. One in front of each slingshot...


...one in front of the roto target, and some circles under the pop bumpers.


Based on my repair work, it's evident that the spot between the kickout hole and the lower pop bumper gets a lot of action, so I decided to make a custom mylar for that area. First, I cut a shape out of paper and refined the shape by trimming it as needed.


Then, I traced it in reverse onto the backing of a mylar sheet...


... and cut it out.


I removed the backing and placed it carefully and voila! Protected!


Next, I gave the entire surface three coats of carnuba wax...


...and buffed it to a nice shine!


Saturday, May 16, 2015

Job 9: Clearcoating

Many of the steps in this restoration have been nerve-wracking, but clearcoating the playfield has worried me the most - and with good reason. It's an involved, irreversible, expensive and toxic process and I wanted to get it right.  I spent weeks gathering all the supplies I needed and ended up going to a dozen specialty stores in the process.  Finally, the day arrived - I cleared my schedule on a Saturday when it wasn't too cool and the humidity was low.

I started by cleaning out my garage, sweeping the floor and corners, walls and even the ceiling to reduce the possibility of dust and dirt falling into the wet clearcoat. Then, I spread a drop cloth and positioned my playfield on some paint cans, carefully leveling it with cardboard shims. The clearcoat will pool and run downhill, so it's important to have the playfield perfectly level.


Once it was in position, I wiped the surface with a tack rag to remove loose dust and cleaned with naphtha to remove any moisture or oils.  Then it was time to suit up.


Gloves, Tyvek suit, respirator and goggles are a must - the chemicals are very toxic.  Now I was ready to clean out the spray gun, mix the two-part clearcoat, fire up the air compressor and give my playfield its first coat.


Gorgeous!  I gave it a very light coat at first, because I was worried about how the decals I used would react to the chemicals and, unfortunately, there were some very small pieces that disintegrated. Nothing I couldn't live with, though.  After this, I carefully cleaned out my measuring cups and gun with lacquer thinner.

I let this set up for a few hours, lightly sanded to give the next coat some "tooth," cleaned with a tack cloth and naptha, and went through the whole process again for the second and third coats. Dry time was about four hours between coats, and that was using the "fast" activator.

It was looking really good and I decided that since I was set up and had enough chemicals left and that first coat was rather thin, I'd put on an extra-protective fourth coat. My hubris was rewarded with this:


Fisheyes!  This is what happens when moisture gets into the spray gun.  Looking back, I should have changed out my air filter after the second or third coat. My beautiful glossy playfield was now full of these horrible divots.  So the next morning, I mixed up a small batch of clear and used an eyedropper to fill each pock mark and then let it set. Then, I took some sandpaper and leveled each one out. Finally, I gave the whole playfield a sanding with 400, 800, 1200, 1500 grit and ending with 2000 grit sandpaper. Here's what those fisheyes look like now:


The next step is to let the clearcoat cure. I brought it back inside and am storing it in its cabinet where it will be safe and at a relatively consistent temperature.  In about three weeks, I'll buff it and polish back the shine.

I'm over the hump! The end is in sight! Every step from here on out involves putting the machine back together, so I'm excited to finally get to play this machine again later this summer.