Showing posts with label inserts. Show all posts

Thursday, December 3, 2015

Job 8: Decals

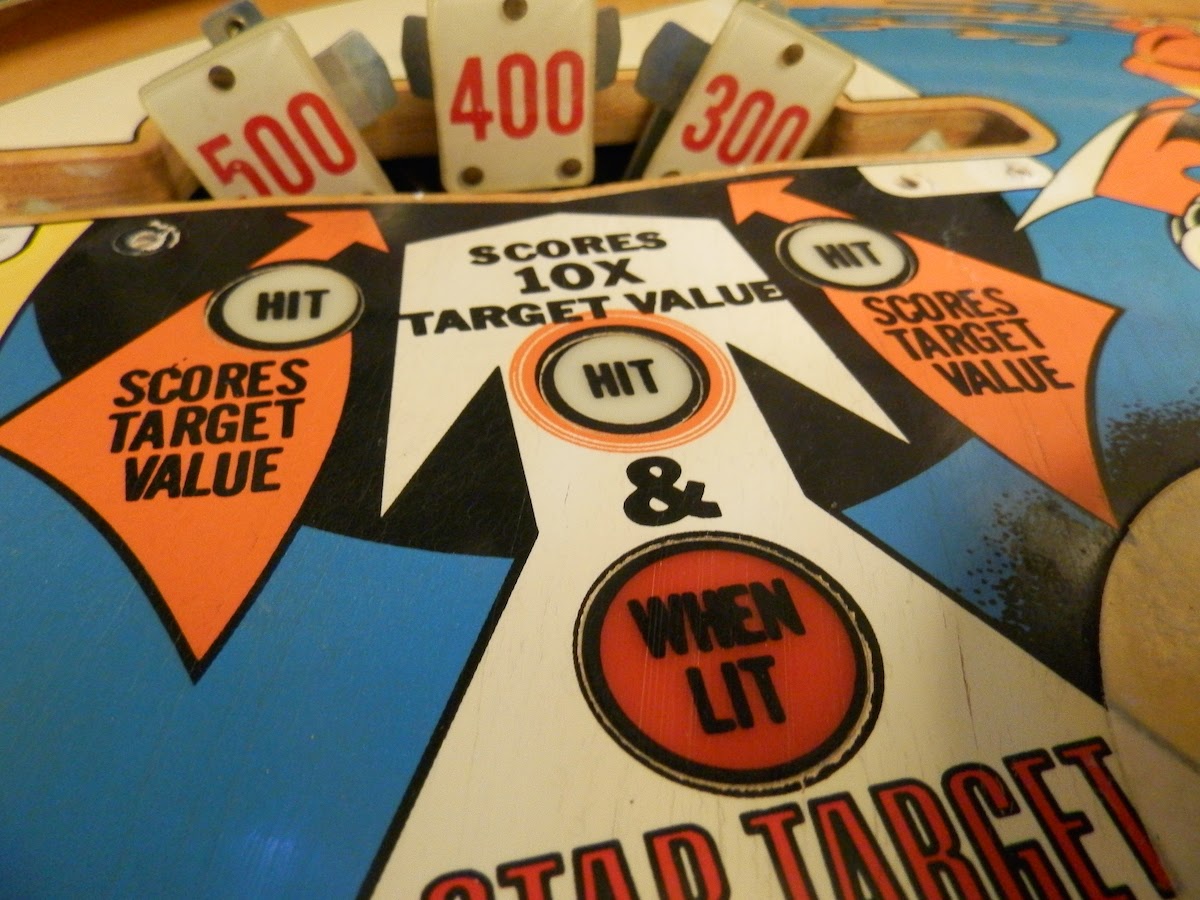
The painting is done, but there are some parts of the playfield art that take a different approach. Namely, the black circles around the inserts and the six scoring labels that I repainted.  That's where we use waterslide decals - the same kind that come with model car and airplane kits.

First, I created a graphic with the text and shapes that I need and printed it on special decal paper in four colors (even though it's all black) on a laser jet printer.  Then, I cut out the shapes, soaked them one at a time in water, placed them on the playfield and slid the backing paper out gently.  Here's the work in progress:


The L and P have decals and the A and I do not.  Two down, 22 to go.  Here's that same part of the playfield an hour later:


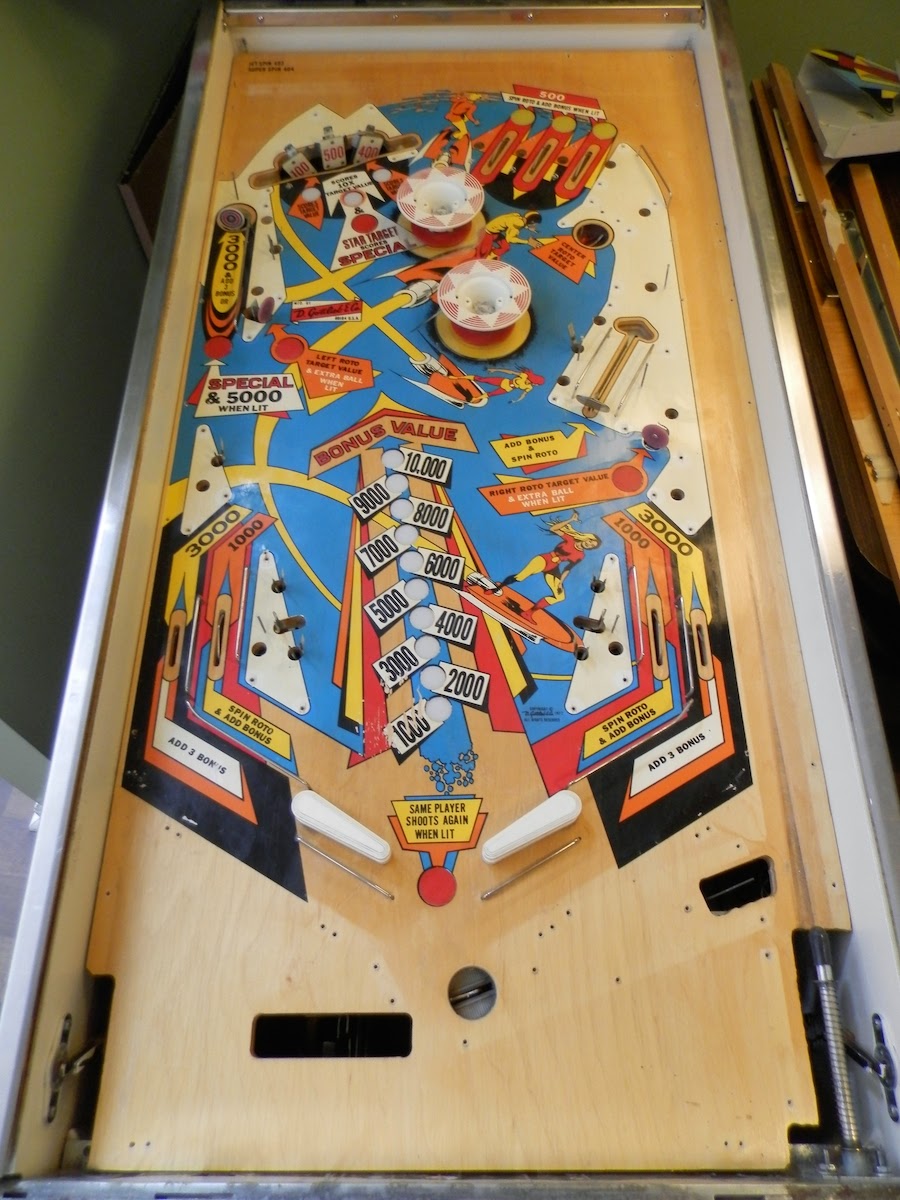
Just for comparison, here's the whole playfield before decals...


... and after:


A vast improvement, I'd say.

Thursday, November 26, 2015

Job 7: Painting the Playfield


Here's another job best done in phases. Step one of repairing the playfield paint is touching up the smaller dings and scratches with a brush. It's already much improved.


There are some larger areas, however, where a brush leaves ugly streaks and a different approach is required. Time to upgrade to airbrushing.  The first areas I'll tackle are the solid white blocks that will lie under the playfield plastics. I'm starting here because there's no paint matching required, they cover a lot of area, they've yellowed with age and because brightening the playfield under the plastics will reflect more light and create a brighter game.

I started by applying clear adhesive frisket, carefully cutting out the shapes and masking the rest of the playfield with scrap paper.


Then, I sprayed it with white paint.


I removed the masking paper...


 ... and the frisket...


... and did a little cleanup around the edges. You can already see a huge improvement.  Next, I'll repeat the process with some of the more damaged off-white target labels and part of the swoosh that runs through the upper left.


You may be asking why I went to the trouble of mixing an off-white khaki color, rather than re-paint all the labels stark white.  A few reasons: There are a whole lot of those labels and not only would I have to paint them, but I'd have to decal the text back into place, which is a lot of work - only six were damaged enough to need re-painting. I like the contrast and appreciate that it shows the machine's age and history in a subtle way. Also, the white inserts and posts have aged into a light beige and they'd really stick out against stark white labels. Since I have no need, desire or interest in replacing all 48 posts and 12 white inserts and making sure the decals are on perfectly straight, I've decided to keep the off-white theme going and paint the labels accordingly.

I had one last round of airbrush painting: the reds at the top of the playfield were a big part of the damaged area. You'd think red would be an easy color to match, but it turns out Gottlieb's color was more like a deep orange. It took a lot of trial and error to get it right.


Finally, I was ready for a few touch-ups. Mostly re-defining the black outlines with a liner brush.


Saturday, May 9, 2015

Job 8: Decals

Painting was done, but some of the finer details required the application of decals.


First, I created a page of decals - mostly the black circles that go around the new inserts - and printed it on special waterslide decal paper. It's the same thing you get in a model plane kit - just cut out the decal you want, soak it in water for a minute, place it where you want it, and gently slide the backing paper away, leaving the thin, clear printed film in place. Then I brushed some setting solution over top of it to smooth it out and help with adhesion.

I started with the bonus inserts in the middle of the playfield. Here, you can see that I've decalled the top four.


Here are the top rollovers mid-process, with the right one done and the other two ready to go. It's a dramatic difference.


These are the two Special Scoring inserts on the left.


The decals by the roto target needed to include custom type.


The 1000 bonus tag was tricky and it took a few attempts to get it placed correctly.


Voila!  Looking great!


Saturday, April 18, 2015

Job 5: Replacing Inserts


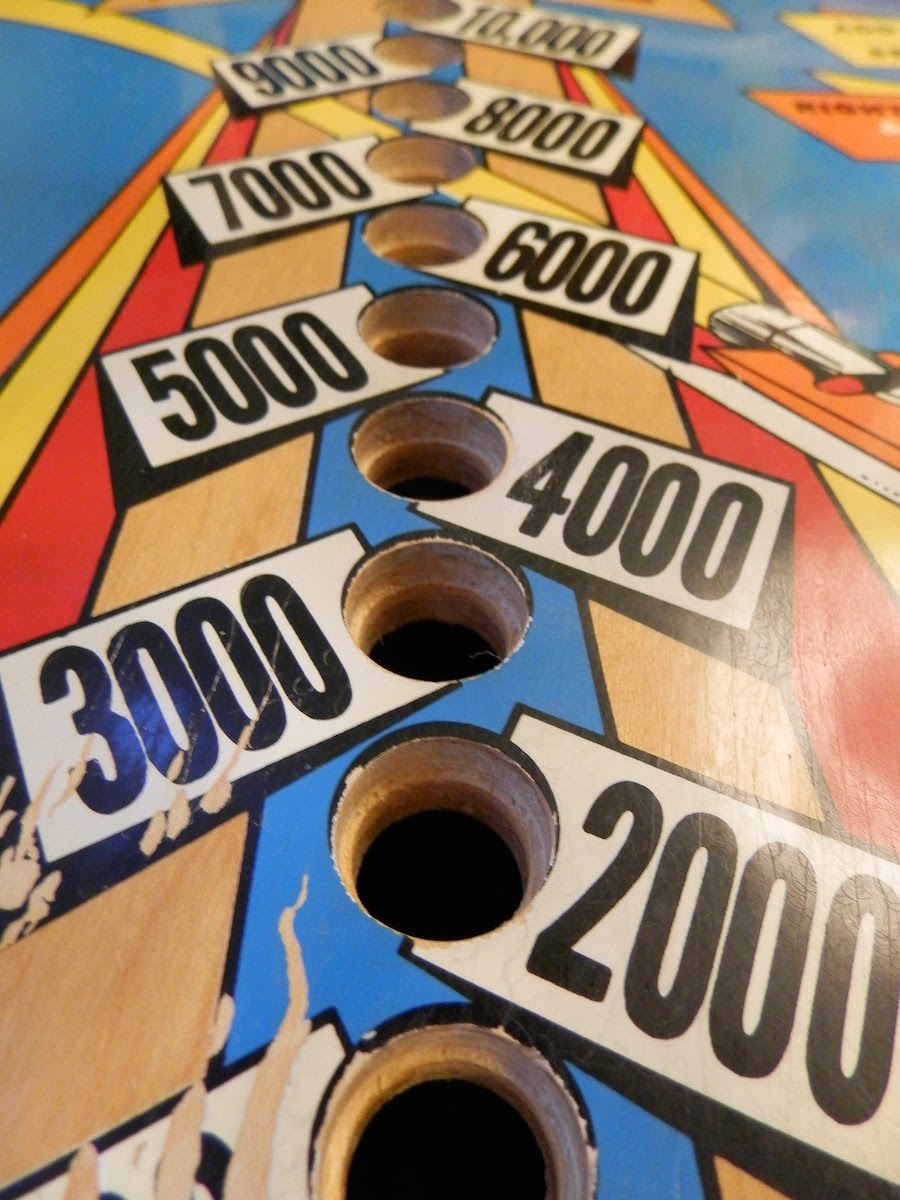
Every one of the 21 inserts on this machine are concave and/or discolored thanks to the heat of the bulbs over time and it really affected the path of the ball. In fact, a light plunge to the top would sometimes get stuck on one of the top inserts.

. The first job was to remove the old plastic discs. First, I traced the edges with an X-acto knife and then, with the heat of a hairdryer to weaken the glue and a little pressure from behind, I popped each one out.


Here are some of the old inserts. You can see that three of the red ones are a lot more faded than the fourth.


The new inserts needed to be worked over with various grades of sandpaper and the edges needed to be roughed up to better accept the new glue.


A coat of plastic primer on the edge of each new insert and strong epoxy inside the holes and each one found its new place.


Beautiful! Here's a look at the whole playfield with all-new inserts: