Showing posts with label polish. Show all posts

Thursday, December 17, 2015

Job 10: Finishing the Playfield

It's now 5 weeks later and the clearcoat should be fully cured.  The next step is to finish the playfield. As I mentioned in the previous post, the last layer of clearcoat went on  with a rough, bumpy texture for some reason, so I started with a 320 grit sandpaper and sanding block to take out the bumps.  I was careful not to go too deep, though. The result was a much better, if hazy surface.


Next, I went over the playfield again with increasingly finer papers: 600, 1000, 1200, 1500, and 2000. For the last three I lightly sprayed the playfield  with water and sanded wet, which made the process faster and less messy.

Then, I got out the rotating buffer and gave the playfield three more passes with liquid polishes.  The result is a near-mirror finish!


Before I went any further, I needed to apply protective mylar to the playfield. I got pre-made circles for under the pop bumpers but also made custom shapes for key areas: between the pops and the row of six targets and between those six targets and the top rollovers. These were the mot-damaged areas on the playfield when I first started.

First, I cut out a shape in plain paper.


Once it looked right, I traced it onto the back of the mylar.


Then I secured it into place with tape and used the "hinge" method to adhere once side at a time to the playfield.
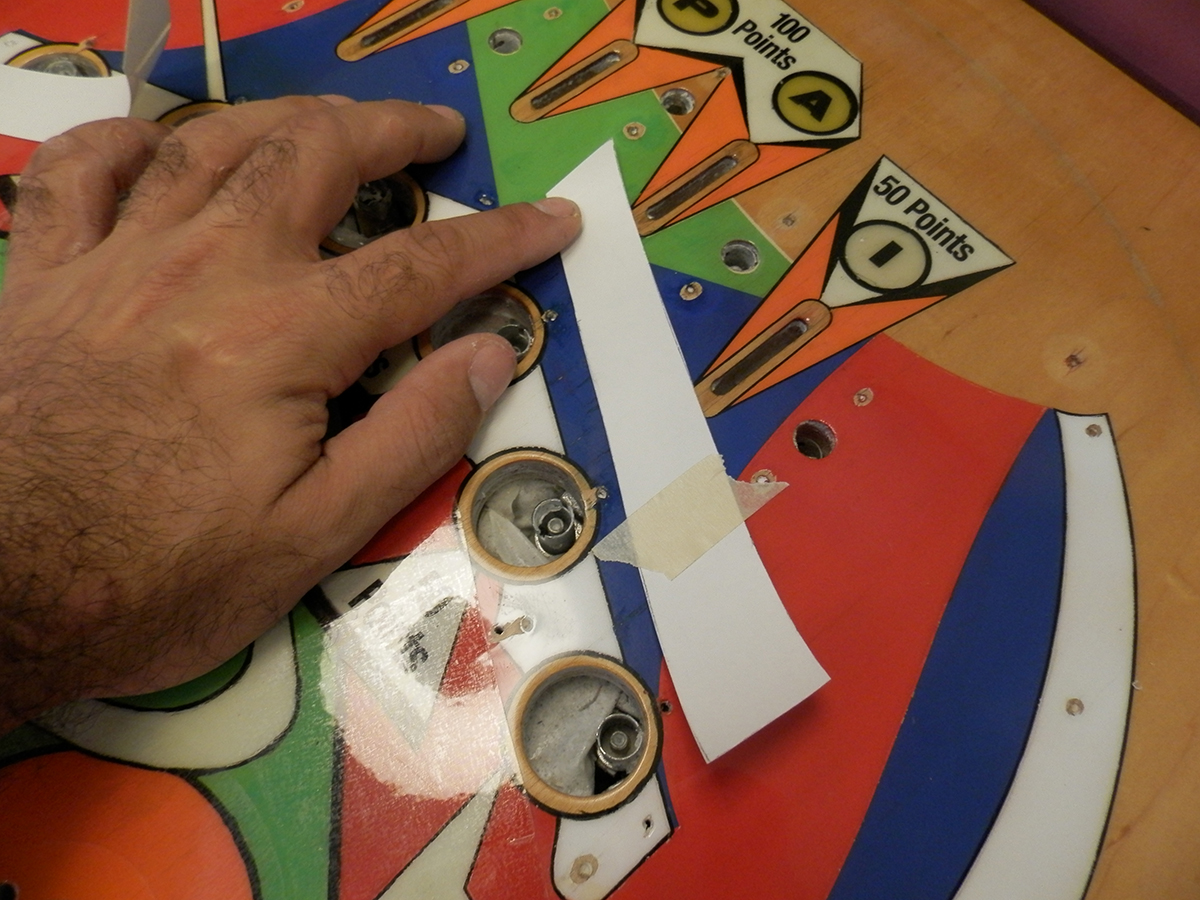

The top of the playfield is now protected in key areas.


Finally, it was time to give everything a coat of wax...


... and buff it to a high shine.


Monday, November 9, 2015

Job 4: Adjust Cabinet Mechs

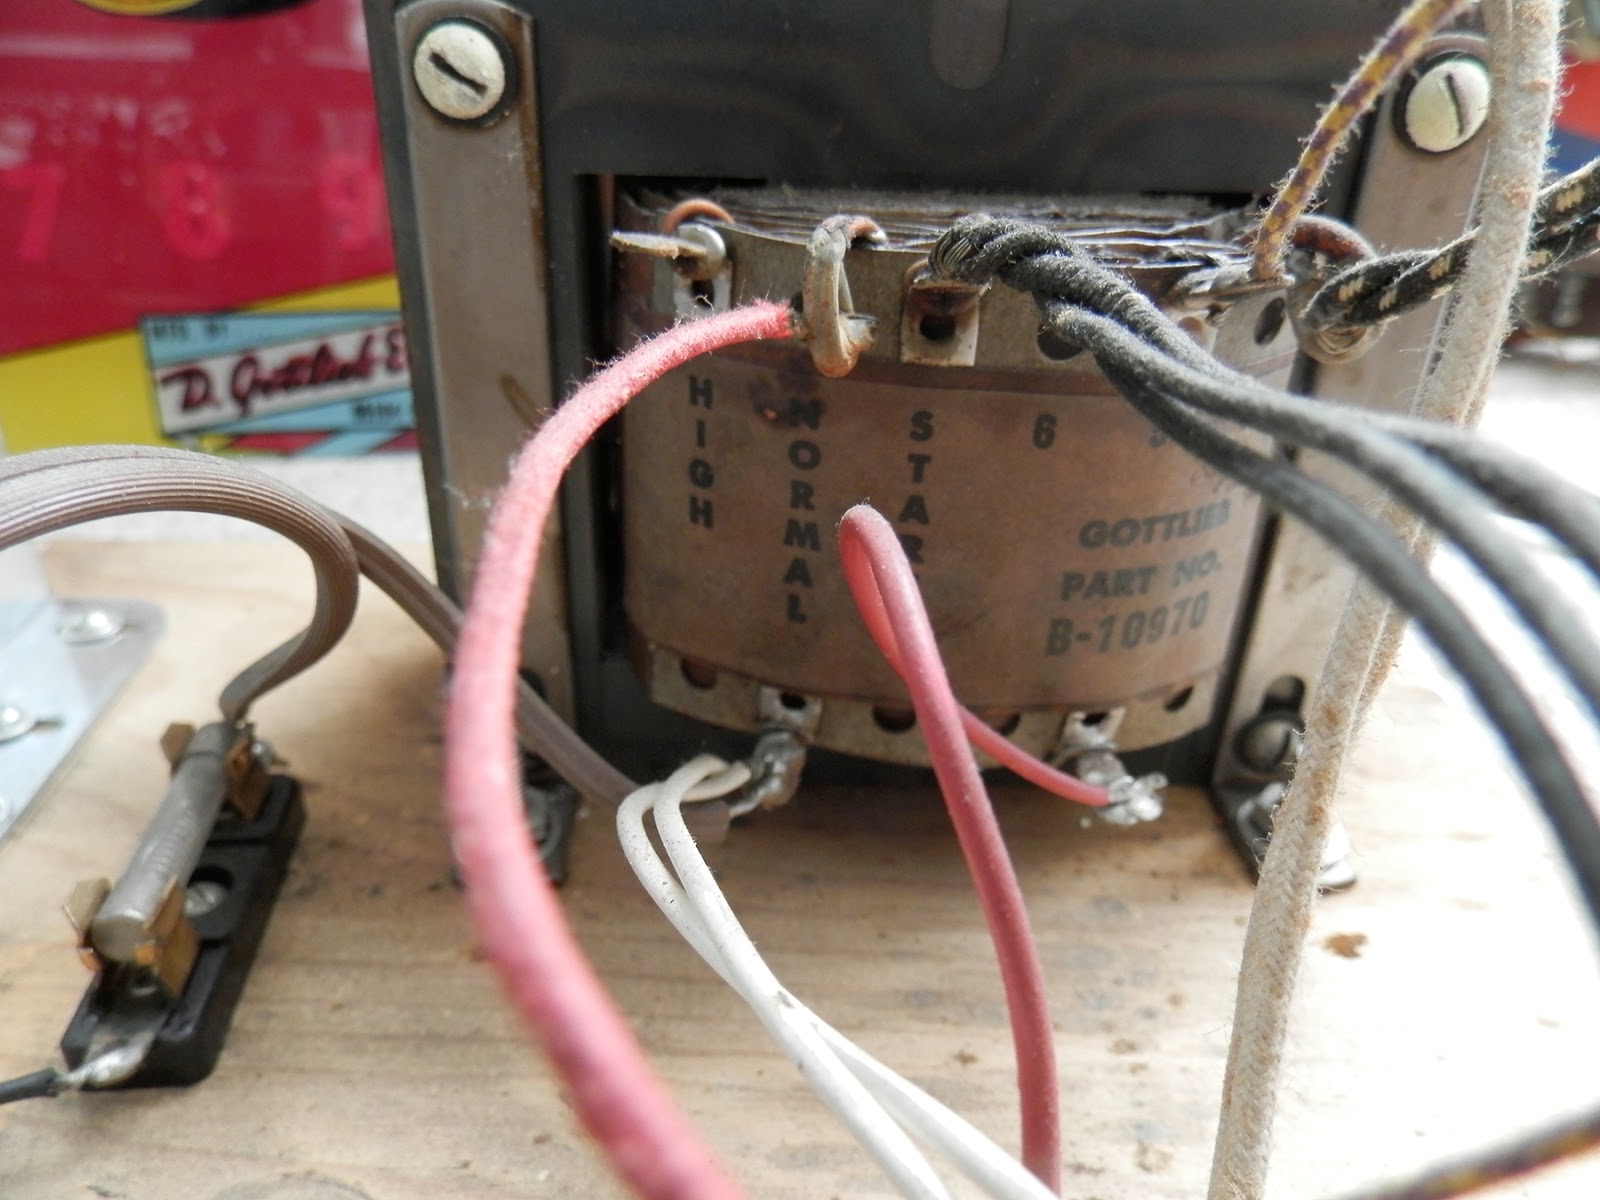
One thing I always like to do with my EM machines is boost the transformer. Out of the factory, these machines were set to normal tap, but today's grid can take the extra load and converting it to high tap power boosts the pop bumpers, making the game faster and more fun.  It's just a matter of finding the red wire on the transformer...


... un-soldering it, and re-soldering it to the high tap node.


Done!  Next, I had a look at the chimes unit, which needed a little upgrade. The middle chime especially needed help, as it was just going "thunk" instead of "ding!"  Disassembling is easy.


I cleaned things up, installed new rubber grommets on the chime bars and added new nylon washers. Then, I re-assembled the unit in the reverse order that I took it apart.


Now it sounds and looks beautiful again!

Tuesday, July 7, 2015

Jet Spin Project Complete!

Jet Spin is done! After assembling everything, I just needed to adjust and fine-tune the switches and the game is working perfectly. The pitch has been increased to 4.5 degrees (the manual suggests 3.5 degrees) so it plays super-fast.  Enjoy this video I made illustrating the scoring, strategy and ending with a sample game:


Saturday, May 30, 2015

Job 10: Finishing the Clearcoat

Three weeks have passed and the clear coat is adequately cured! I gave the entire surface a polish with medium-cut cleaner and then Novus 2 to bring it to a nice shine. Not a high-gloss mirror shine, but an "EM" shine, appropriate for a 1977 game.

Next, for further protection of the sensitive areas, I applied some clear adhesive mylar. One in front of each slingshot...


...one in front of the roto target, and some circles under the pop bumpers.


Based on my repair work, it's evident that the spot between the kickout hole and the lower pop bumper gets a lot of action, so I decided to make a custom mylar for that area. First, I cut a shape out of paper and refined the shape by trimming it as needed.


Then, I traced it in reverse onto the backing of a mylar sheet...


... and cut it out.


I removed the backing and placed it carefully and voila! Protected!


Next, I gave the entire surface three coats of carnuba wax...


...and buffed it to a nice shine!