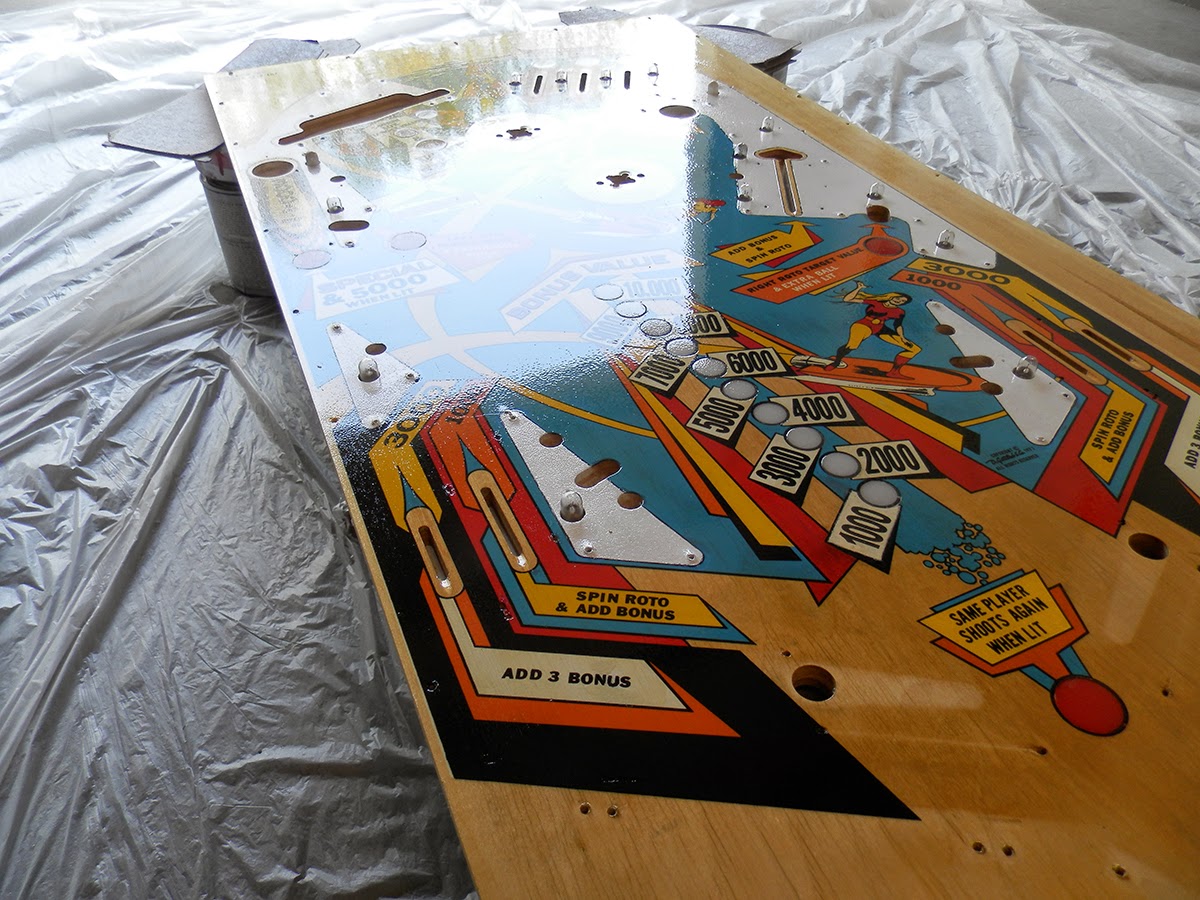
I started by cleaning out my garage, sweeping the floor and corners, walls and even the ceiling to reduce the possibility of dust and dirt falling into the wet clearcoat. Then, I spread a drop cloth and positioned my playfield on some paint cans, carefully leveling it with cardboard shims. The clearcoat will pool and run downhill, so it's important to have the playfield perfectly level.
Once it was in position, I wiped the surface with a tack rag to remove loose dust and cleaned with naphtha to remove any moisture or oils. Then it was time to suit up.
Gloves, Tyvek suit, respirator and goggles are a must - the chemicals are very toxic. Now I was ready to clean out the spray gun, mix the two-part clearcoat, fire up the air compressor and give my playfield its first coat.
Gorgeous! I gave it a very light coat at first, because I was worried about how the decals I used would react to the chemicals and, unfortunately, there were some very small pieces that disintegrated. Nothing I couldn't live with, though. After this, I carefully cleaned out my measuring cups and gun with lacquer thinner.
I let this set up for a few hours, lightly sanded to give the next coat some "tooth," cleaned with a tack cloth and naptha, and went through the whole process again for the second and third coats. Dry time was about four hours between coats, and that was using the "fast" activator.
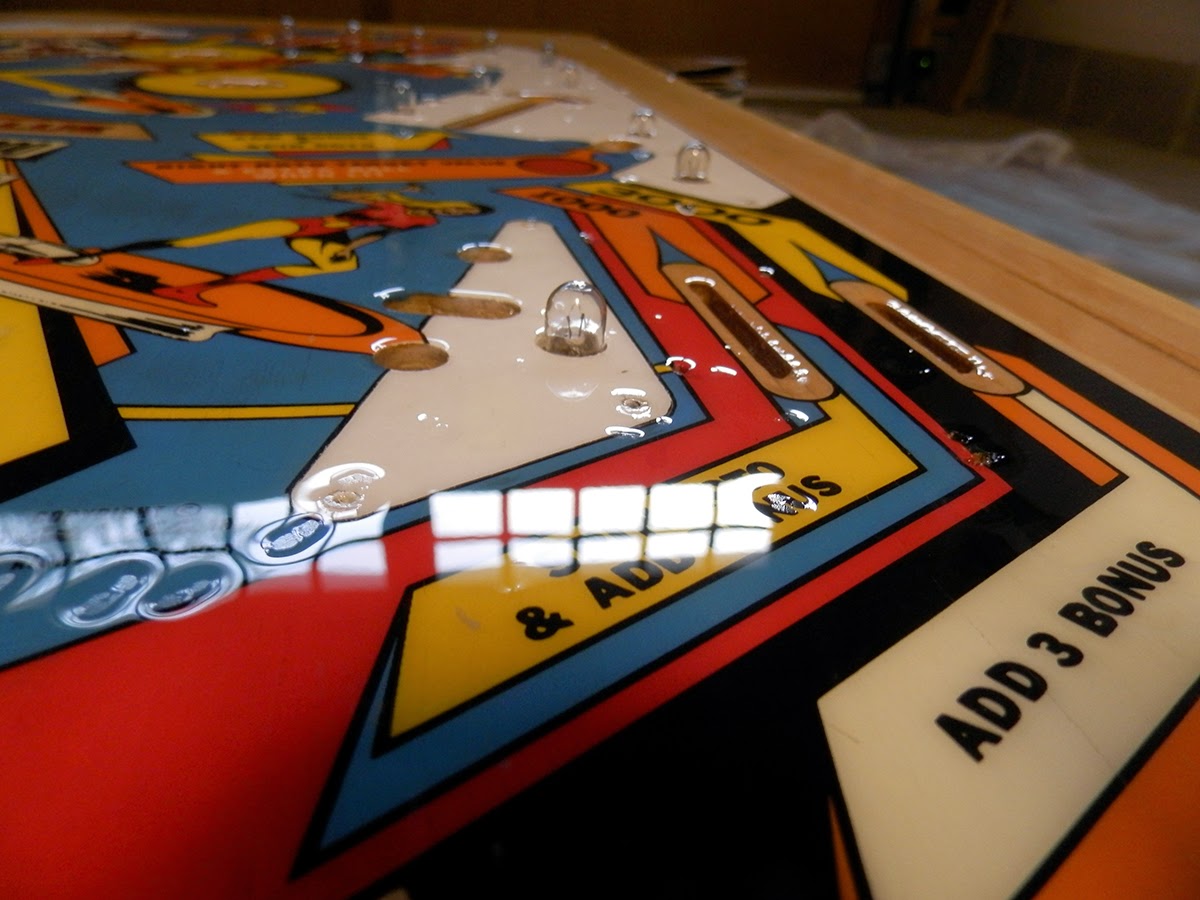
It was looking really good and I decided that since I was set up and had enough chemicals left and that first coat was rather thin, I'd put on an extra-protective fourth coat. My hubris was rewarded with this:
Fisheyes! This is what happens when moisture gets into the spray gun. Looking back, I should have changed out my air filter after the second or third coat. My beautiful glossy playfield was now full of these horrible divots. So the next morning, I mixed up a small batch of clear and used an eyedropper to fill each pock mark and then let it set. Then, I took some sandpaper and leveled each one out. Finally, I gave the whole playfield a sanding with 400, 800, 1200, 1500 grit and ending with 2000 grit sandpaper. Here's what those fisheyes look like now:
I'm over the hump! The end is in sight! Every step from here on out involves putting the machine back together, so I'm excited to finally get to play this machine again later this summer.


No comments:
Post a Comment