Saturday, April 25, 2015

Job 6: Clearing the Playfield

In preparation for the next steps in this restoration, I'd need to clear the playfield, removing everything until I'm left with a flat surface.  Here's where we stand:


It was mostly a matter of going under the playfield and unscrewing the mechanical pieces from the bottom. I then secured them, along with their corresponding screws, to the underside with tape or zip ties. Then I covered the holes with more tape.


The pop bumpers required some special care. Here's what they look like from below:


I removed the coil and still had to unsolder these two wires, which connect to the light socket, in order to remove the top mechanism.


Here's what the playfield looks like sans targets and rollovers:


Finally, I needed to remove the wire ball guides and nails. A gentle pull with a pair of pliers and they came right out. I made sure to number and label each one so I can put them back correctly later.


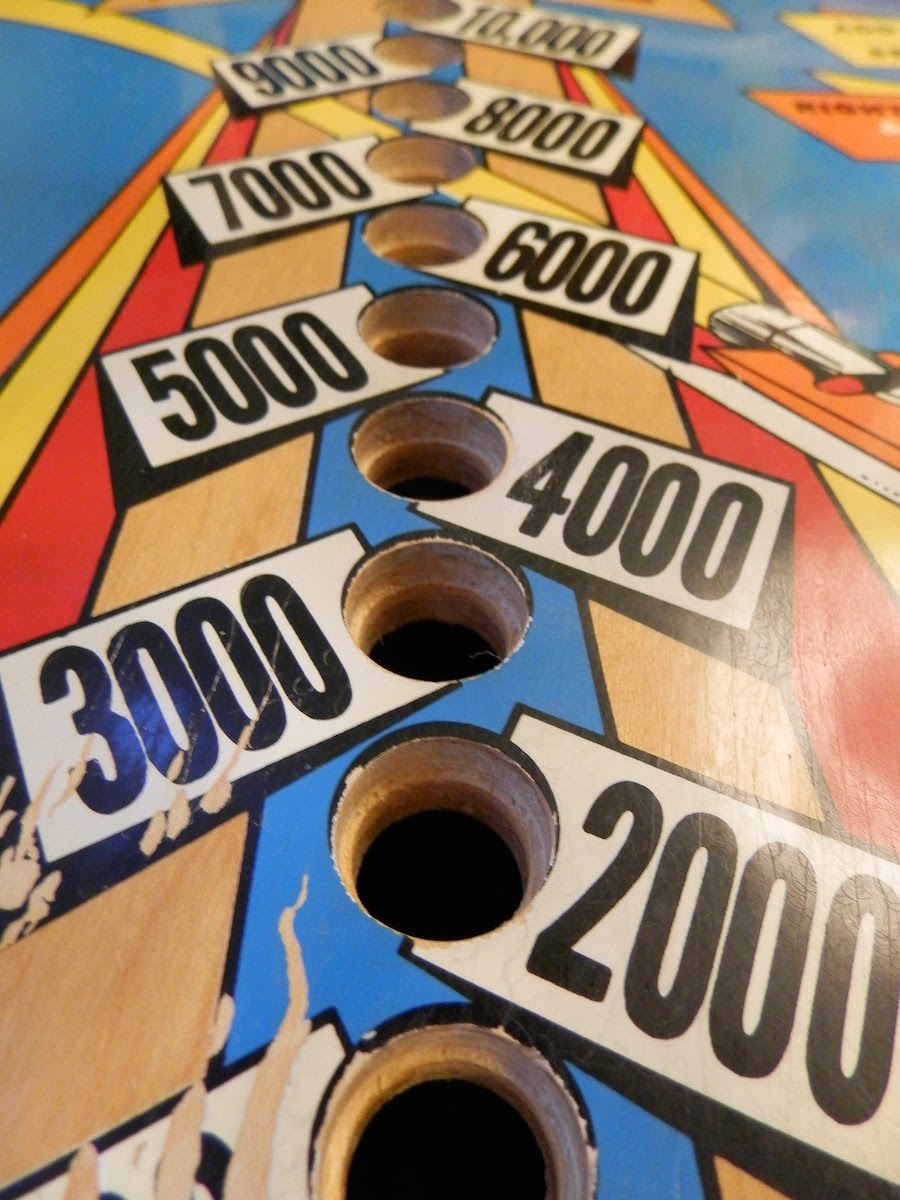
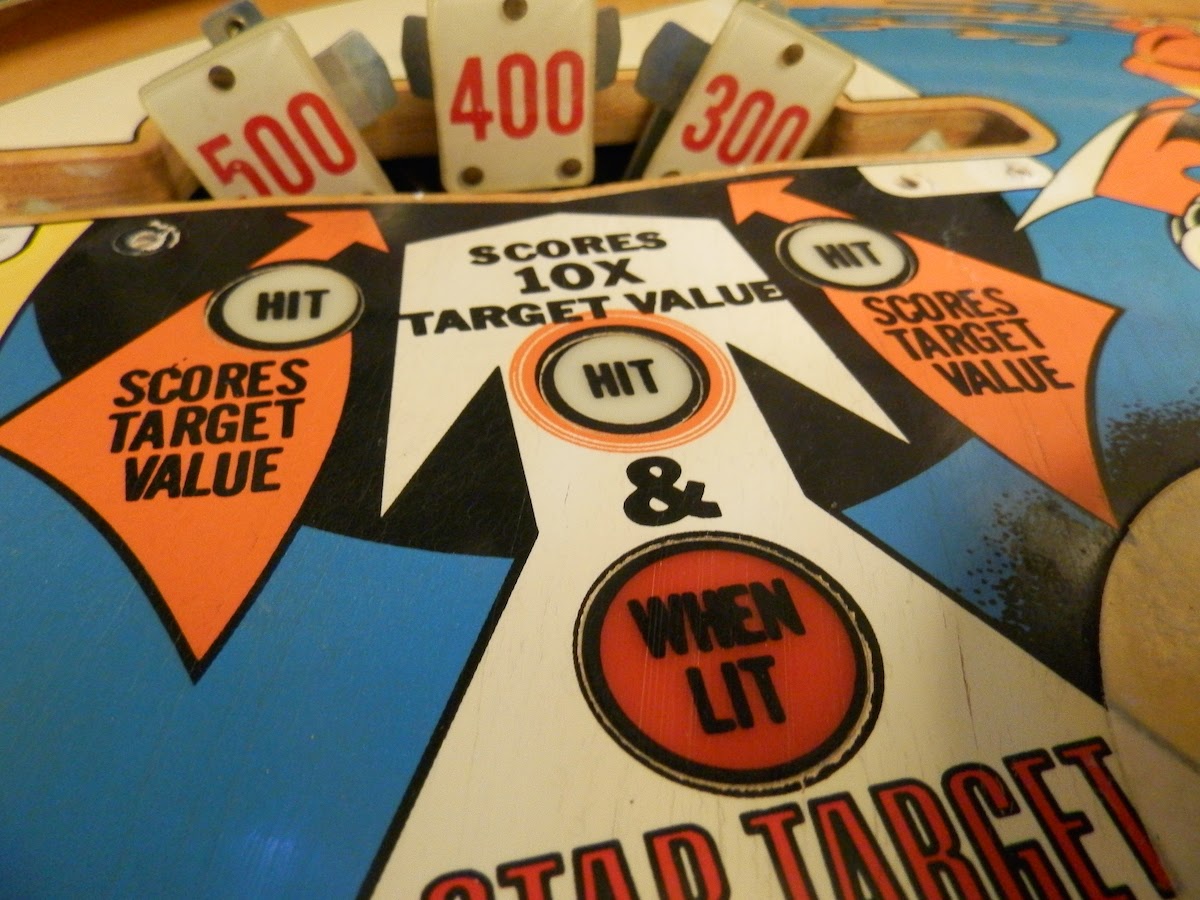
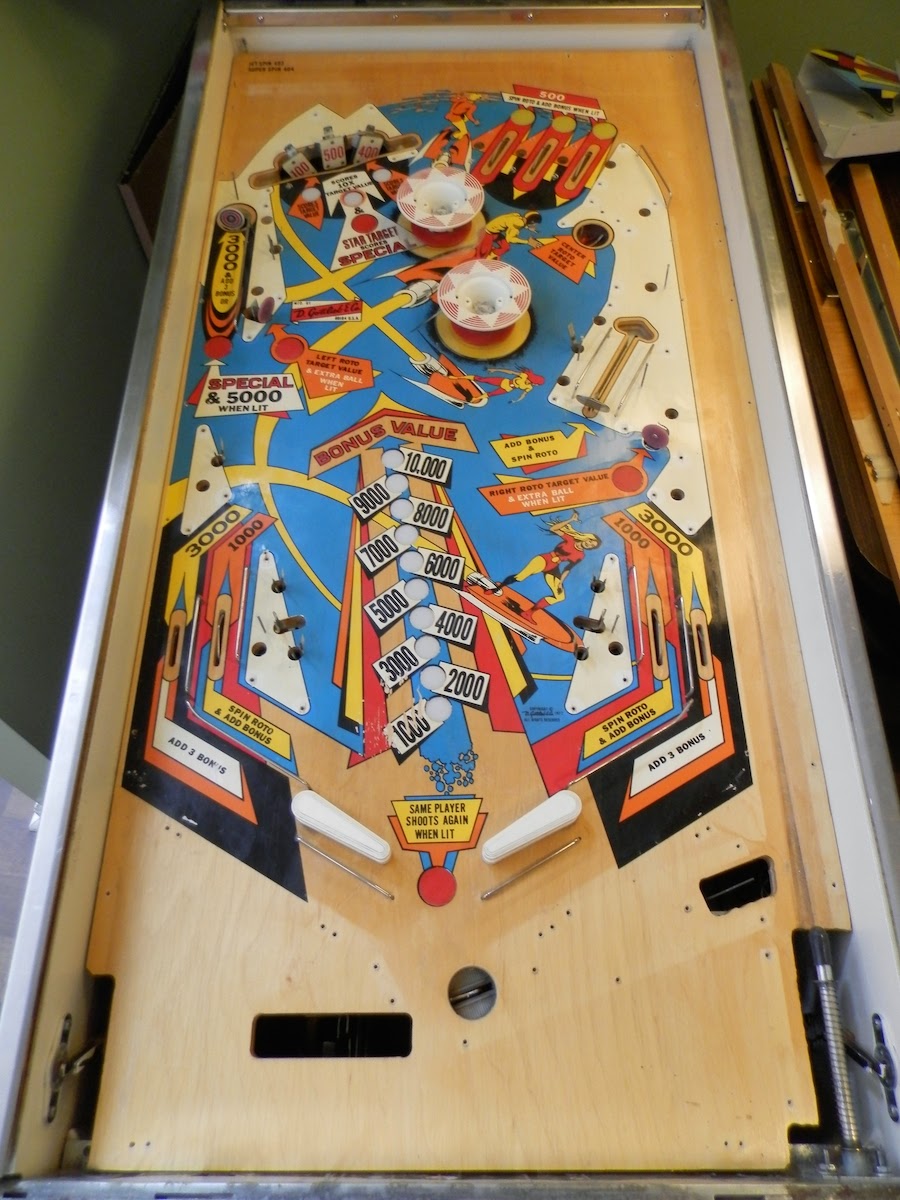
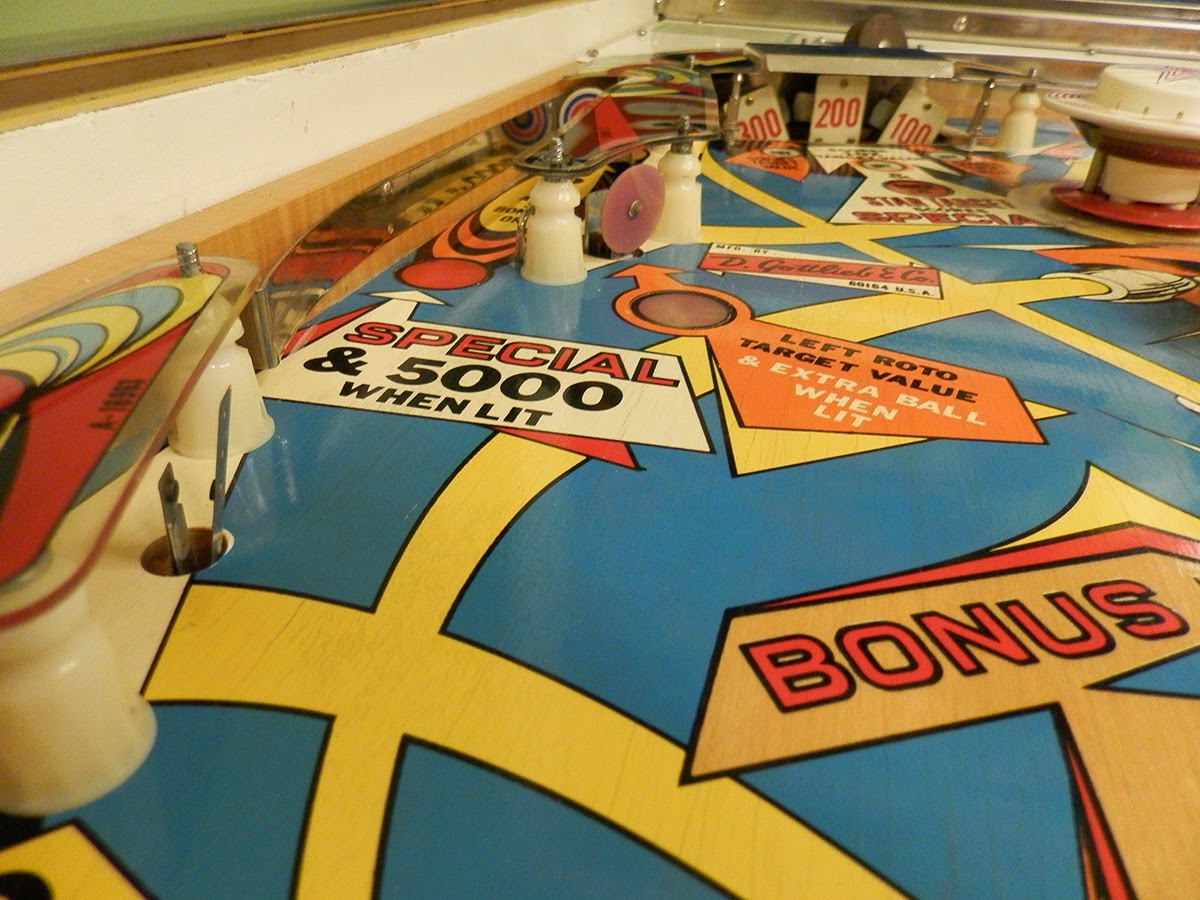
Here's what the playfield looks like totally stripped:


Flat and ready for painting!


Saturday, April 18, 2015

Job 5: Replacing Inserts


Every one of the 21 inserts on this machine are concave and/or discolored thanks to the heat of the bulbs over time and it really affected the path of the ball. In fact, a light plunge to the top would sometimes get stuck on one of the top inserts.

. The first job was to remove the old plastic discs. First, I traced the edges with an X-acto knife and then, with the heat of a hairdryer to weaken the glue and a little pressure from behind, I popped each one out.


Here are some of the old inserts. You can see that three of the red ones are a lot more faded than the fourth.


The new inserts needed to be worked over with various grades of sandpaper and the edges needed to be roughed up to better accept the new glue.


A coat of plastic primer on the edge of each new insert and strong epoxy inside the holes and each one found its new place.


Beautiful! Here's a look at the whole playfield with all-new inserts:


Saturday, April 11, 2015

Job 4: Initial Cleaning


The next step in the process is to clean up the playfield and see what it looks like all shined up. This machine had years of accumulated dust to deal with, as you can see with my fingerprints, after I removed the apron.  No need to do a complete teardown, but I did remove all of the plastics, rubber, and bulbs.


I set those parts aside in their relative places, to make it easier to re-assemble later.


Here are some of the old rubber bands. As you can see, it was a mix of black and white and all had lost their bounce over the years.

These are some "before" close-up photos:


You can see streaks of brown grime on the surface, especially in that first photo.

I started by wiping the playfield down with 90% alcohol on a cotton cloth, gave it a polish with Novus 2 and hit the deep dirty spots with alcohol on a Magic Eraser. Here are the "after" photos:


Much better, but not perfect. There's quite a bit of planking and ball swirls, which are especially visible on the white and yellow bits.  That might take some re-painting.  But overall, I'm happy with the results.

I re-assembled the playfield just to get everything back in one piece but, since I knew that I'd be taking it apart again before long, I didn't tighten anything too far or add in the bulbs or rubber bands.  Next, it's time to order some new parts!


Saturday, April 4, 2015

Job 3: Adjusting the Transformer

While the cabinet mechs were removed and easy to access during the re-finishing process, I took the opportunity to make an adjustment to the transformer.


These machines leave the factory with the main power line (the upper red wire) set to the "normal" lower-voltage output node on the transformer.  So I clipped it and re-soldered the wire to the "high" output node.


This should give the pop bumpers and kicker some extra power and maybe spin the wheel a little faster.  A simple adjustment that will make the game quicker and more fun!


Saturday, March 28, 2015

Job 2: Refinish the Cabinet


By this time I'm an old pro at cabinet refinishing. Step 1: take it all apart. This time it was a little harder, because the chimes, coin door and tilt mechanisms are hardwired to the rest of the cabinet mechanics.


This is the inside mechanical guts of the machine, removed from the cabinet. You can see the coin door on the right, the playfield is propped up against the wall and the newly-refinished head on the left, with its backglass.

The rest of the cabinet is in the workshop.


Check out how clean this cabinet is, even before restoration! Normally, the inside front is stained with spilled soda and accumulated dust, spiderwebs and gunk, but this is the cleanest old machine I've seen! 

Step 2 is to remove the lock bar hardware, plunger and side rails.


You can see the original finish that was under the metal side rails. This machine was well-taken care of, but it could't escape the telltale ravages of time and probably spent its early years in a venue that allowed smoking.

Anyhoo, it was all coming off with the sander.


Boom! Blank cabinet.  Next, it gets filled, primed and painted.


Beautiful!  I created stencils in the same manner as the head and applied them with a light coat of adhesive spray.


Next, the blue:


And the final reveal:


So pretty! Side rails, plunger and hardware go back on...


...followed by the re-installation of the cabinet mechs, coin door, tilt mechanism and chimes unit.  Job complete!

Saturday, March 21, 2015

Job 1: Refinish the Head


With this project, I thought I'd handle the biggest issues first and work my way down to the smallest. There are no mechanical problems, so this restoration will be purely cosmetic and the biggest job will be the cabinet.

First order of business: isolate the head and remove backglass and the mechanical "guts."


Once again, Gottlieb did a great job of making everything modular, so this was pretty easy. The lock lever and a few other metal bits needed to come off too and you can see that I've laid them out on the work bench in place, so as not to lose track of what goes where.

Here's the backbox sans guts, pre-restoration:


After sanding it down to the bare wood:


The main box is a harder wood (maybe ash or maple) and held on to the original paint, while the cornice frame on the front was much softer (probably pine) and had no problem shedding its outer layer.

From here I filled in the gouges and dings, primed and pained with a creamy white (I had plenty left over from Fun Land) and applied the first stencils.


I had traced the original artwork, transferred it over to large sheets of clear acetate, carefully cut out the shapes with an X-acto knife and applied the acetate to the backbox with light spray adhesive.

Voila! The first stencils:


These bled a little and needed a little touchup before the blue would go on. I discovered that three or four light coats worked better that trying to do a single heavy coat all at once.

Next, I used the same procedure for the second set of stencils:


I have the whole backbox propped up on old paint cans, so it's a little off the ground.  The blue turned out pretty well:


Fresh and clean!  Next, it was time to re-install the mechanics and hardware, in reverse order that they were removed:


Job complete!

It occurred to me only later, after reviewing the photos that I had done the front stencil upside down - it should be a thick blue bar on top and a thin orange bar underneath. Oh, well. I kind of like it better my way.