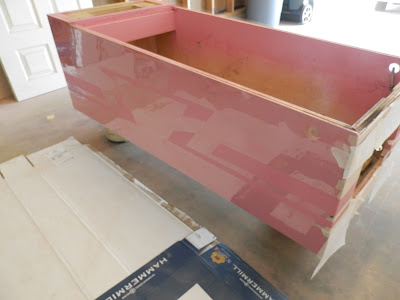
With the head done, it's time to make the cabinet look just as nice. The first job is to remove the mechanics, which involves not only the main relay board but also the tilt mechanism and the chime unit, which are all hardwired together. Here's what that looks like:
Next, it's time to take off the coin door, coin plate, side rails, back rail and inner hardware, leaving only the wooden shell.
The cabinet was just grimy on the inside, so I gave it a good vacuum. Here's what I found floating around in the bottom:
A bulb, a few broken fasteners, all of the relay labels from the bottom of the playfield (that might cause some trouble later on) and what appears to be a squashed, fossilized shooter tip.
Before I take off the original finish, notice the original unfaded color hiding under the side rails and legs.
Also, I noticed this bare patch on the front right side of the cabinet - probably a classic nudge spot, as players would bang the side of the machine to coax the ball during play.
Off it goes, and we're left with a bare wood cabinet.
... and we're ready to start the stencils. Just like with the backbox, I've cut them out of acetate and spray-glued them to the cabinet.
A light first coat goes on...
... followed by a few more, and the stencils are ready to come off.
Beautiful! Now, the second set of stencils is done the same way.
Georgous!


No comments:
Post a Comment